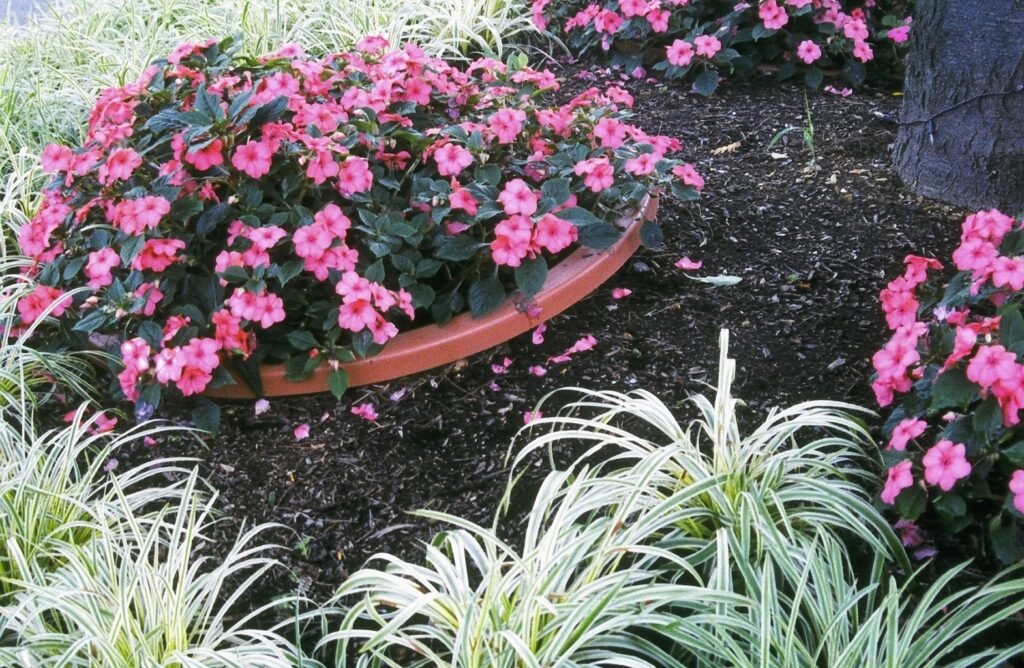
In-ground pot planting also known as a “Sunken Garden”, pot-in-pot or in-ground container gardening can be ideal for various reasons. As for my reason, my yard will not allow plants to thrive and flourish when planted in the dirt. This is more common than you know, yet really bizarre which I’ll explain more in detail shortly.
Read on for more on how you can easily DIY upgrade your landscaping in less time and for less money and more importantly why you should try DIY container In-ground pot planting.

What is In-Ground Pot Planting or a Sunken Garden?

Image from: Just Another Hang Up
In-Ground Pot Planting, In-Ground Container Garden or a Sunken Garden are a basic concept that is simple to build. In essence, you are putting containers into the soil where they’ll stay year after year and you’re simply removing old plants and replanting new plants as needed. Once you set up your In-Ground Container Garden, the pots remain in the ground, leaving you with less time spent, less digging and more importantly, little or no back pain.
(This post may contain commission affiliate links. I only recommend products I’ve used or trust. It comes at no additional cost to you if you choose to make a purchase and helps me continue providing you with free content.)
What is Pot In Pot Method Gardening

Image from: Marjorie McNeely Conservatory
The arrival of spring is almost here. If you’re eager to get started on a garden, the pot-in-pot technique of cultivating outdoor plants may save you money and effort while also allowing you to simply switch out your plants.
The pot-in-pot approach is burying a pot inside the soil and afterward placing a plant that grows in a similar-sized pot right into that particular container. It’s perfect solution to a quick yard makeover for an open house, or special event at your home.


There are quite a variety of possible explanations why you may wish to do something like this. Among these, you may direct water only to specific plants, conserve time changing up annuals, explore with plant configurations to see whether they work with the light levels you get, and shield plants from invading trees or bush roots. This pot-in-pot planting method is indeed a brilliant idea.
Why In-Ground Pot Planting or a Sunken Garden

Image from: The Spruce
While typical garden beds have all been intended to last a significant amount of time, the in-ground pot planting method allows anybody to construct more variable beds. Since it simply takes pulling out a container and installing a new container, you can swap out plants year-round and explore various plants through one year into the next quite more effortlessly.
Other wonderful reasons to consider burying containers inside the garden soil include: changing out annuals throughout the summer. Experiment with different plant groupings and lighting needs. By rotating plants, you can keep the flowers blooming throughout most of the year. Houseplants should be moved to outdoor pots in the summertime and back inside in the wintertime. Plants should be secured inside the soil and protected from the wind. Replace decaying plants quickly. Improve your control of temperature, nutrients, and irrigation.
You could also discover reasons why you should not utilize this gardening strategy. A plant, in comparison, will not be successful completely if it is constrained within a container. Nevertheless, there are other compelling reasons to experiment with pot-in-pot planting, so begin with a single bed and discover how you prefer it.
The Best Pots for Your Sunken Garden

Image from: Homebnc
Sunken gardens across your household beds are still appealing for a multitude of reasons. These pots may be put anywhere and are the only option for hard and flat surfaces such as parking lots along with concrete patios. Understanding how to cultivate underground pots, on the other hand, opens up a world of gardening design possibilities. Within the pots in which you’re planting, having drainage holes would be required. Because pots will be a part of your garden design, choose containers with bigger rims to have the color appear more visible if desired.

Determine which of your plants would be placed in specific containers. Clean your plantation area of weeds, grasses, as well as other undesired plants before you start planting. Collect your pots then arrange them within your plantation area to create the desired design. Make holes that are broad but also deep enough for you to hold your pots. Professionals recommend putting weeding fabric over the garden then making holes in the pots.
Many people suggest leaving a small 1-inch perimeter of weeding fabric within the pots then you can draw the cloth tight and then tuck it underneath the pot rims for a clean look. Place the pots as well as plants, and then cover the plant bed with mulch.
Tools Need to Get Started

Image from: Hull Urban Gardener
Sunken gardens may relate to a variety of things, and it is therefore important to define what we intend. A garden space that is below ground is what a sunken garden is. It is a one-of-a-kind landscaping element with walls. Such rooms, sometimes known as subterranean patios, add a modern vibe to gardens.
We’re not talking about a subterranean garden bed that allows water to flow to certain plants. These are usually not very profound and are just intended to sustain plants.
After you’ve made a plan, you will have to go to a nearby home garden store to get all the necessary tools. Starting first off, you’ll need to have a hoe, a rake, and even a shovel on top of your seeds.
How to Build a Sunken Garden or In-Ground Pot Planters

Image from: Good Housekeeping
Fill the container more than half of the way with fresh potting soil. Squeeze the pot on both sides to release each plant from its container. Hold the plant with your thumb with a pointer finger just at the surface of the soil. Take the plants out delicately and set them in the buried container. Eliminate all plants in transplant pots using this process. Pots should be cut away with pruning scissors for plants that do not readily pop out from the container.
Loose potting soil should be used to fill in underneath each plant. Gently press the ground to hold the plant inside the other plants. Compact the dirt flat using a trowel and a hand reaching up to two inches underneath the pot’s rim.
Use a garden hose or a little trickle from your watering can to water the buried container garden. Align the sprayer and also spout there at the bottom of every plant. This procedure thoroughly wets the soil inside the planter. Because container plantings lose moisture fast, water the container daily.
How to Set Up Your Pot-In-Pot Planter Method

Image from: Bob Vila
Begin by deciding on the sizes of the planters that will be used to build the pot-in-pot garden. Dig pits inside the ground in the preferred configurations and place the containers inside of the holes. The soil should be enough to reach right to the rim of the pot.
If done correctly, the end effect is a bed that appears like every other. There should be no visible pots, but if some do protrude above the earth, apply mulch to conceal them. I actually allow only the rim to be visible, but I’ve also added mulch on top of the soil and to cover the rim before.
Eliminate all dirt from preexisting sunken gardens with a bucket, shovel, or any other method available to remove all soil out from the pot. Just use compost or garden trash collection to safely dispose of old trash.
Cleanse the interior of a container using clean water then scrapes mineral deposits away with a bristly brush. Allow water inside the container to drain fully before planting.
To provide bulk to bigger pots, load under halfway of the pot with crushed soda cans or wood mulch. Significant quantities of potting mix are costly, and this solution reduces the need for extra dirt in the container. It is also possible to use only potting soil.
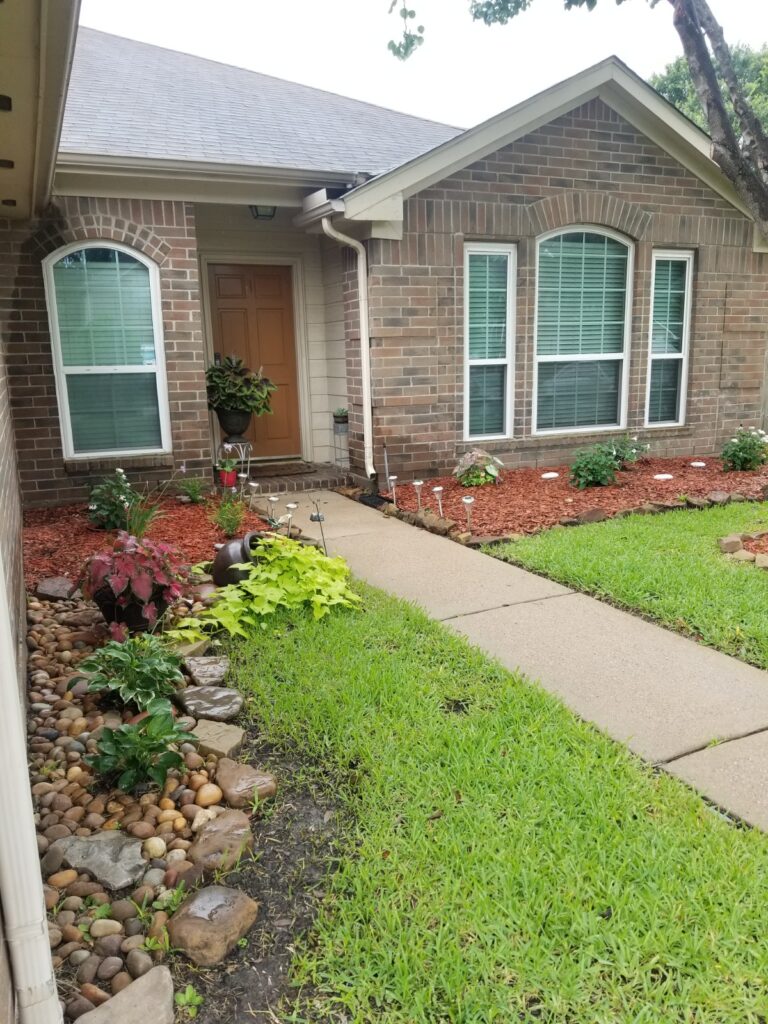
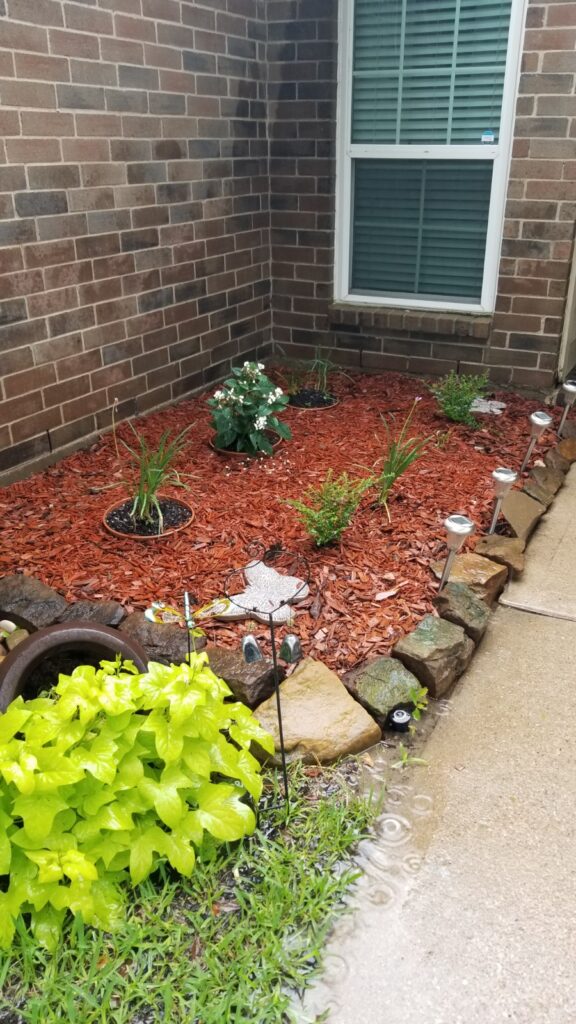
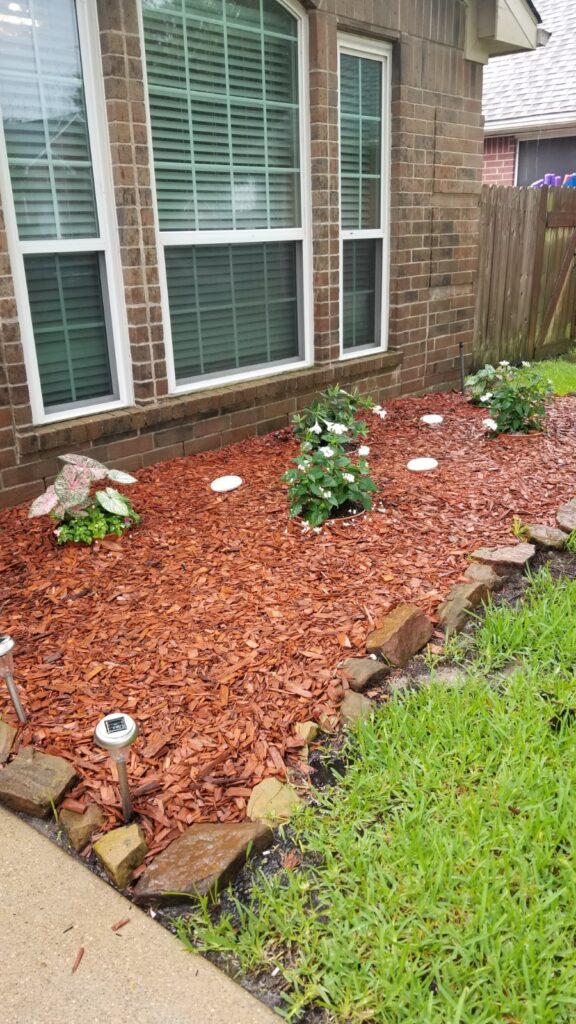
Ground pot gardening gives variety to both small and big gardens. Plants instantly add color, serve as a central focus inside the garden, or connect the house’s structure to a garden. Put them upon this ground or even on a podium, hang them over your porch, and install them up on a sill. A set of containers along either side of the front walk makes an inviting décor, whereas ground pot planting upon a deck and patio may bring color and atmosphere to these outdoor resting places.
Why I Prefer Sunken Garden Or In-Ground Container Pot Planting
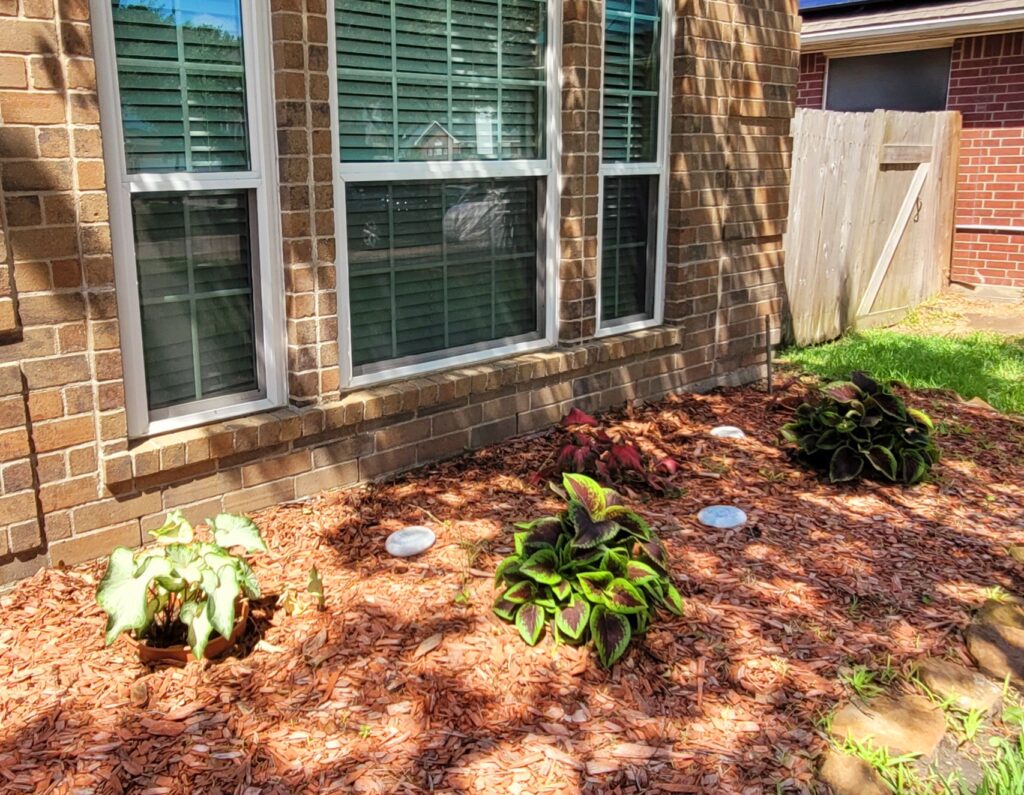
Personally for me, living in the great hot state of Texas and having lower back issues, I opted in for this gardening option because the trees in my yard are so old and powerful, that it would drain all the nutrients away from any plant I’d put directly in the dirt within so many feet of the tree. I tried several times, different plants and flowers, but nothing worked except this method because it seperates the tree roots and the dirt from the new plant or flower roots.
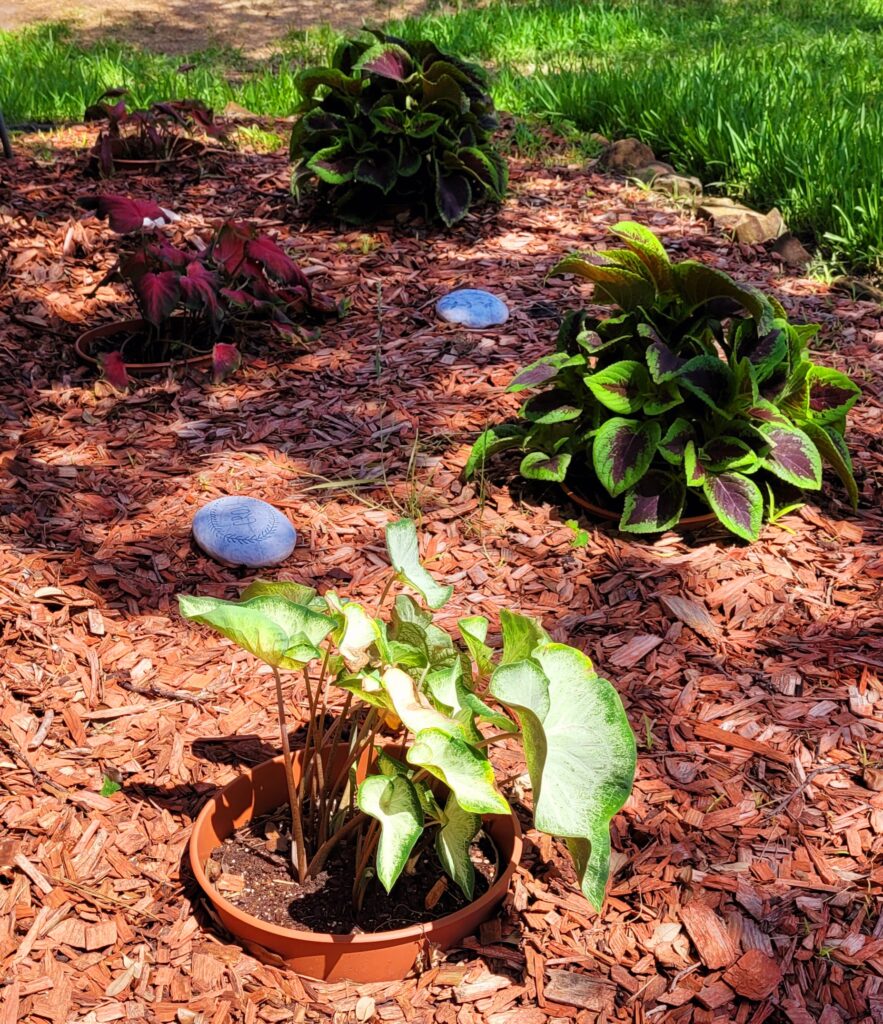
One thing to consider is because of this barrier, plants will not be able to grow as large because they aren’t able to spread their roots although this is based on the size of the pot you use. All of my pot in pot plants grew to be medium large. I used a medium large containers or 14 inch opening containers as shown in the photos below. I also only plant annuals so my plants are designed to grow for 1 year only. I have two hisbiscus in containers by my mail box with a 18 inch opening. These still grow medium large and full in their containers.
Another perk of in ground, pot in pot or a sunken garden is water preservation. If you live in a really hot place like I do, and your planting annuals, you can get planters with slow drainage or no drainage. Keep in mind not over watering since the water won’t be released so quickly or not at all. I actually get pots with draining, but I mix water storing crystals into the soil so that my plants won’t suffer when I’m away or just not in direct position with my sprinkler systems. Water storing crystals look similar to coarse sugar or salt. A very small amount goes a long way. Follow the instructions on the bag, which is simply adding crystals near roots. These water storing crystals will swell up and stay wet without overwatering your plants, especially during hot temperatures or being away from home and unable to water your plants.

I also prefer in-ground container pot planting because it’s not back breaking nor does it cause much fatigue or over exertion. It’s as quick and easy as popping one plant out to pop another one in. Gardening should really fell relaxing and emotionally therapeutic.
This method is perfect for annuals since they are beautiful, inexpensive, but have a limited limited lifespan. As for this method and process as a simple yet permanent landscaping garden pros and cons, I honestly can’t think of any cons. You should definitely check the bottom of your pots once per year, these roots are relentless and can make their way into your in grond container garden. This has only happened once for me with one plant out of 12 plants.
In-Ground Container Pot Planting Is Super Easy
My other reasons I discovered along the way is Sunken Garden method upgrade is as easy as popping one plant out and popping a replacement back in. It’s quite wonderful for those annuals with short lifespans.
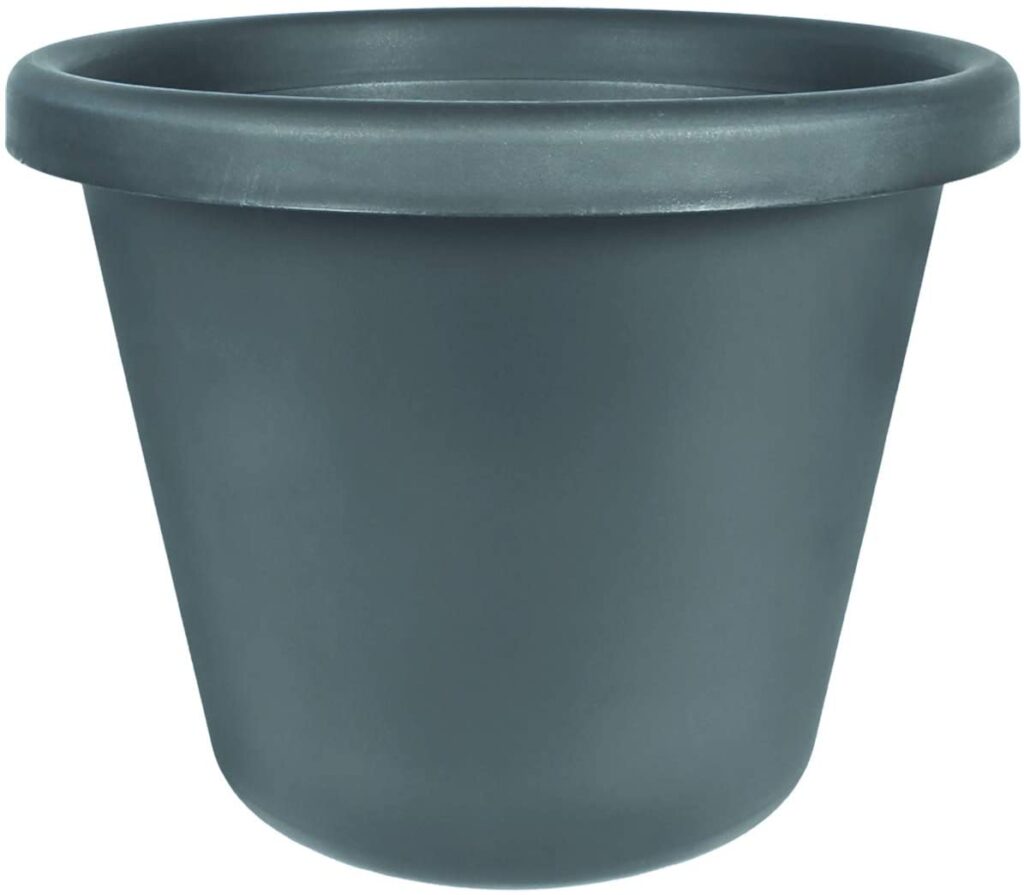
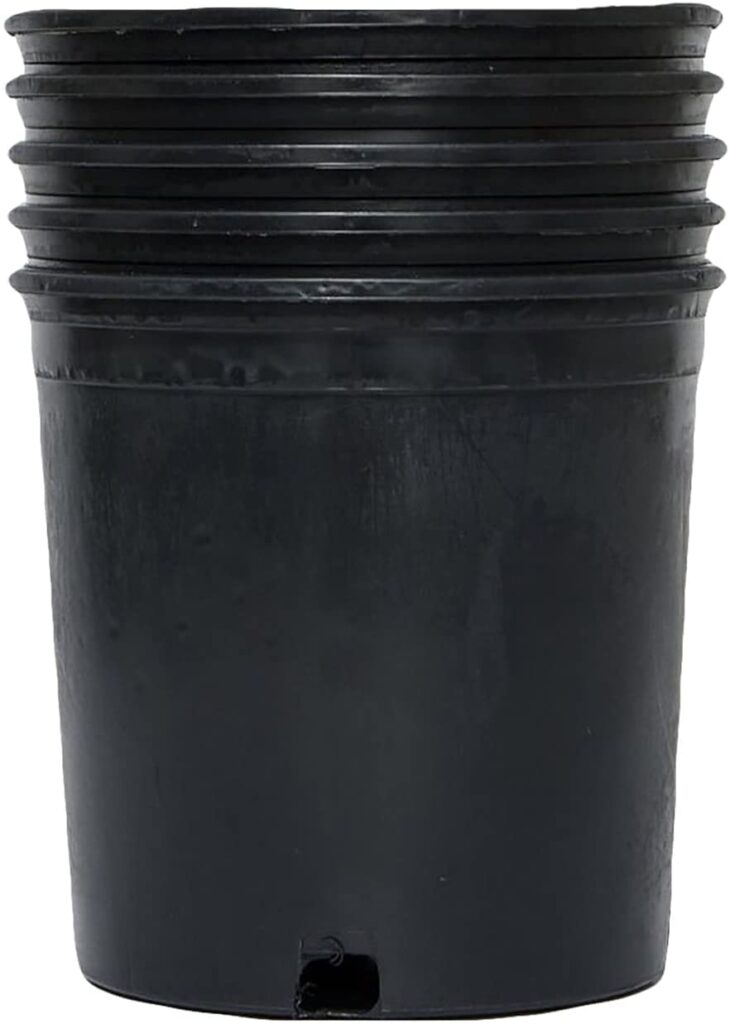
I covered the garden area with weed barrier prior to digging holes for pots. Purchased 14 inch plastic planters which already had drainage holes and durable to not crack so easily. So that the soil drains easily and quicker I added rocks to the bottom of the pot first and placed a easy drain soil type on top. Once new plants have been set in their pots, I topped entire garden with red mulch.
The following year when you’re ready to plant new annuals, you just dig a small hole in your existing pot, place the new plant inside and top it off with a good soil such as Miracle Garden. My perrennials usually come back on their own and only need top soil and fertilizer.
So that’s all yall! Thanks for reading my article on Why You Should Try DIY Container In-Ground Pot Planting. I hope you have been inspired to try out your own Sunken Garden.
![]()