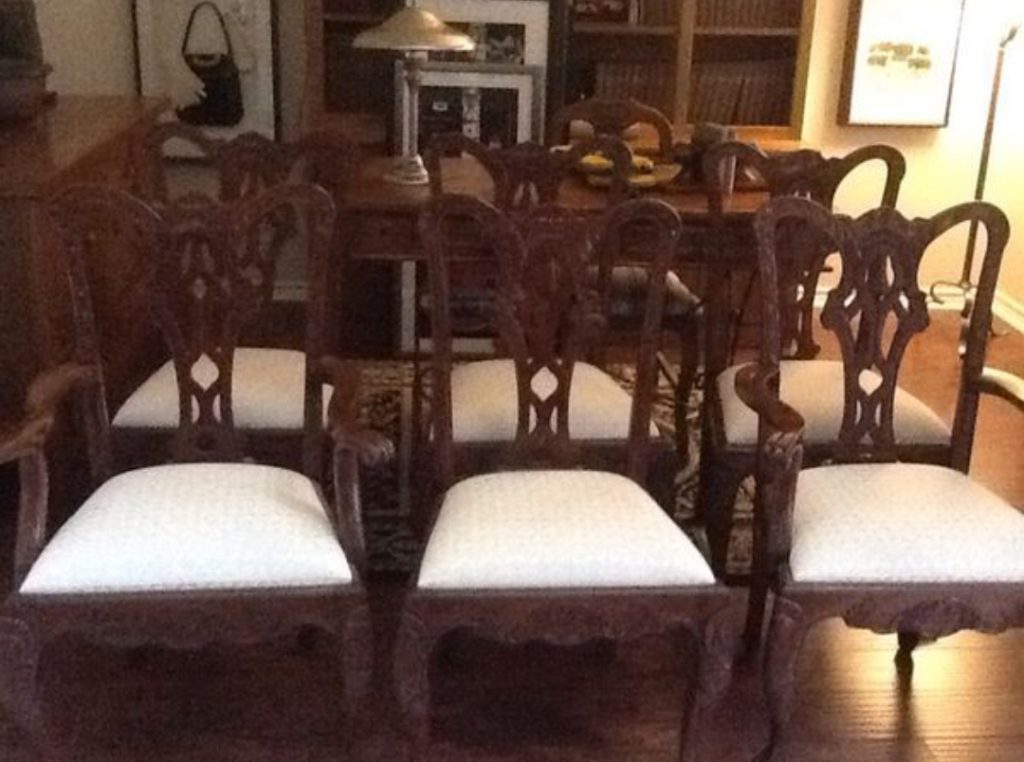
Hello beautifuls! Today, I’m sharing how I transformed these magnificent Ball And Claw Chippendale Arm Chairs, blending them seamlessly with the dining table I masterfully painted using chalk paint in a prior post.
The journey began when I stumbled upon a captivating set of six ball and claw Chippendale-style arm chairs for sale on OfferUp. It was a match made in decor heaven! Four of them were destined to grace my dining table, while the other two with arms would find their place in my Conversation Cocktail And Chill Room.
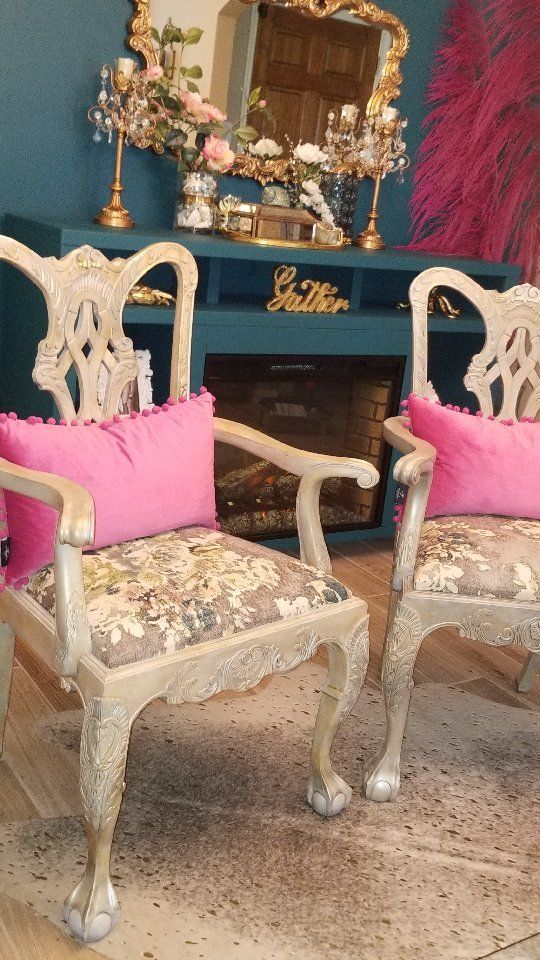
Today’s transformation tale, however, focuses solely on these two stunning armchairs, showcased below. You’ll find that their makeover is a work of art in itself, with a unique painting approach that sets them apart from the side chairs. Let’s dive into this creative journey!
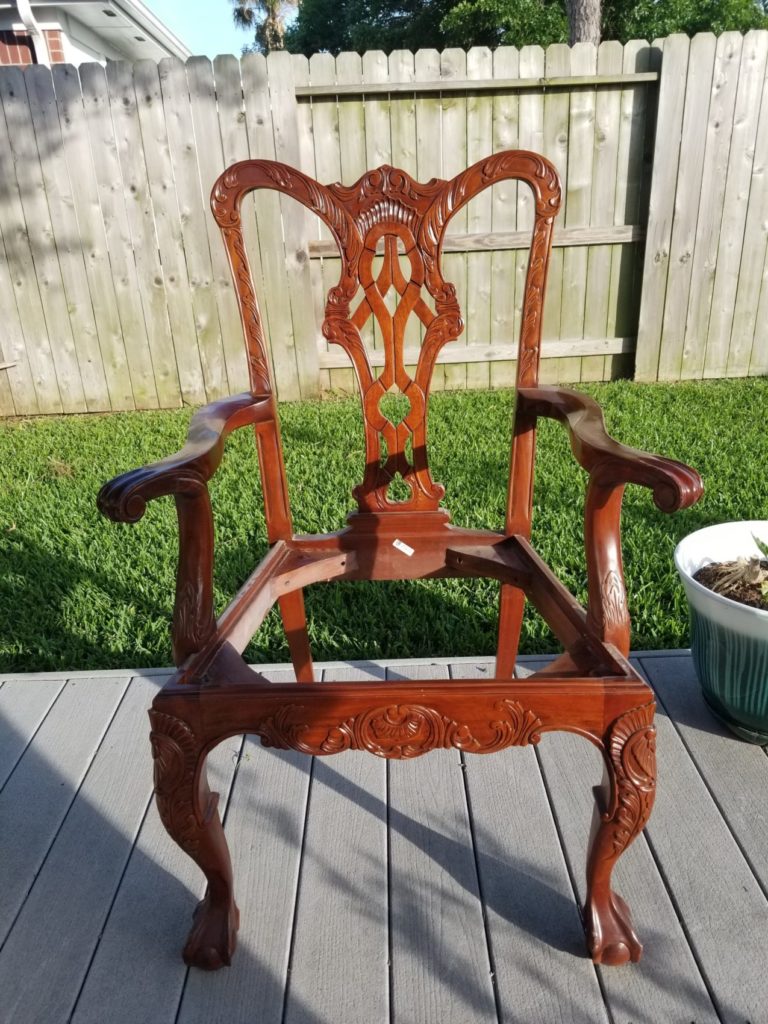
On a scaled of 1-10, I would rate the condition of these chairs a 6, so not too bad. There were several small cracks which I filled with wood filler and smoothed out with a fine sponge sander. I wouldn’t consider these chairs to be vintage or made during the Chippendale era, but I love cabriole legs and the ball and claw style feet.
Cleaning the Chair
I started by removing the cushions which I reupholstered later. As usual I clean up furniture with old rag, warm water and a little dish soap and then I use a dry rag and a little alcohol to wipe dry.
Painting the Chair
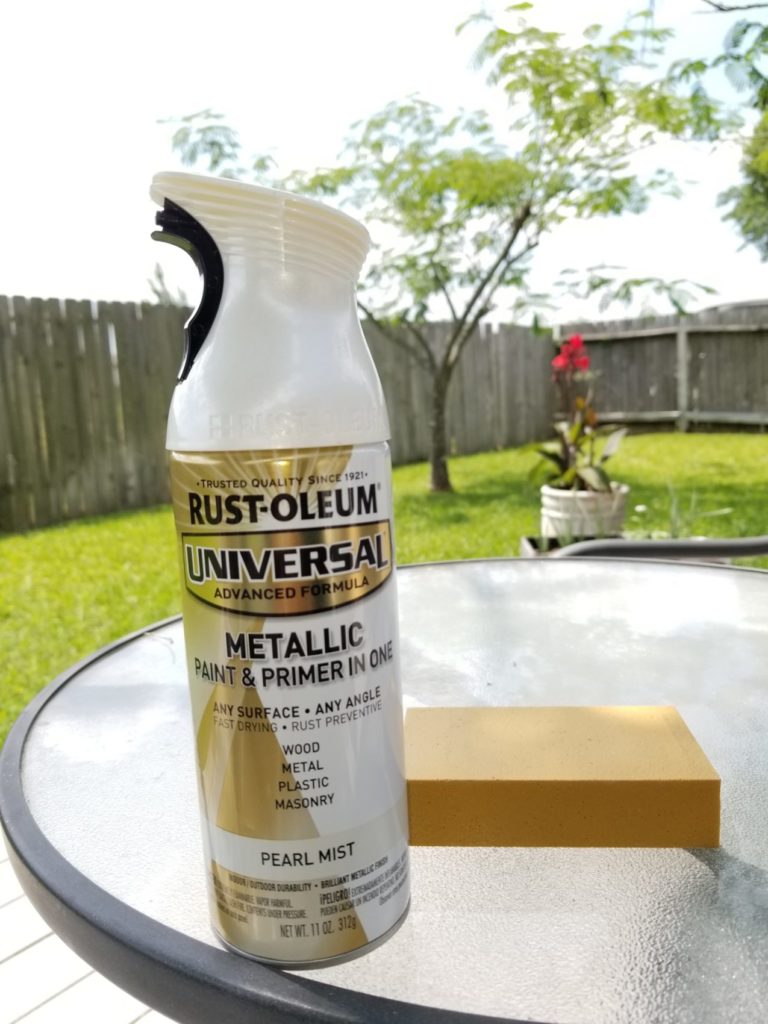
To simplify this project, I will paint the chairs with Rust-Oleums Pearl Mist. This can be purchased at Lowe’s, Home Dept and Michaels. This paint also has built-in primer and applying is error free as long as it’s not windy and spraying on at about 8-10 inches thoroughly over the entire chair and not just in spot at a time. Second coat will clean up any think areas.
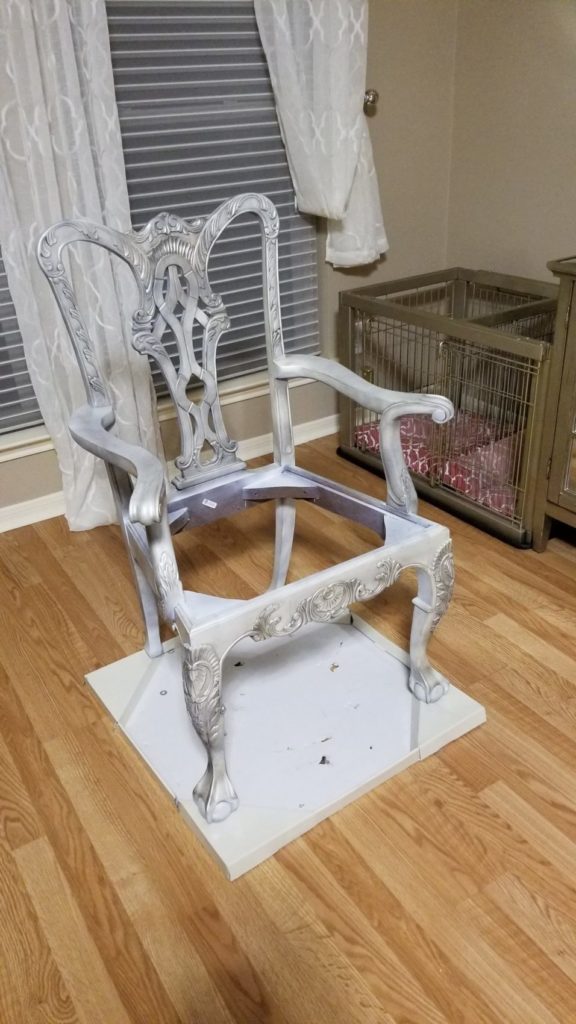
Again, I applied two coats of spray while allowing it to dry an hour or more in between coats because I needed to flip chair over. This photo below is after two coats which seems more silver to me than pearly or white.
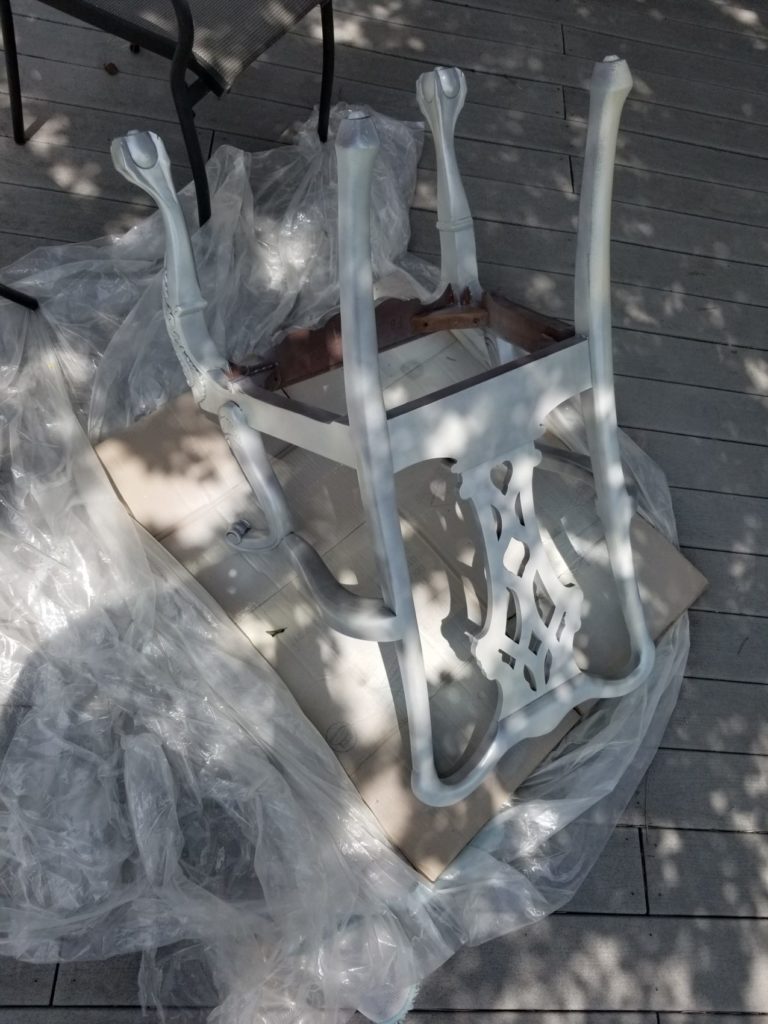
Because it’s more silver than I wanted I decided to antique glaze just about the whole chair and dry brush with some champagne color paint.
Distressing the Chair
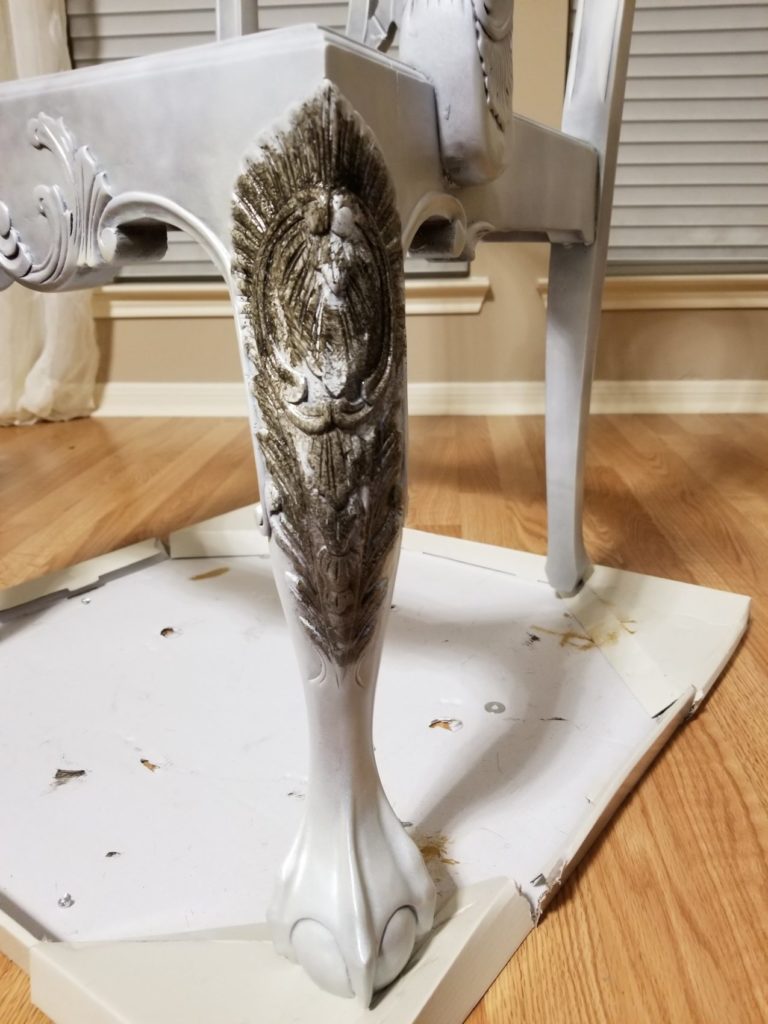
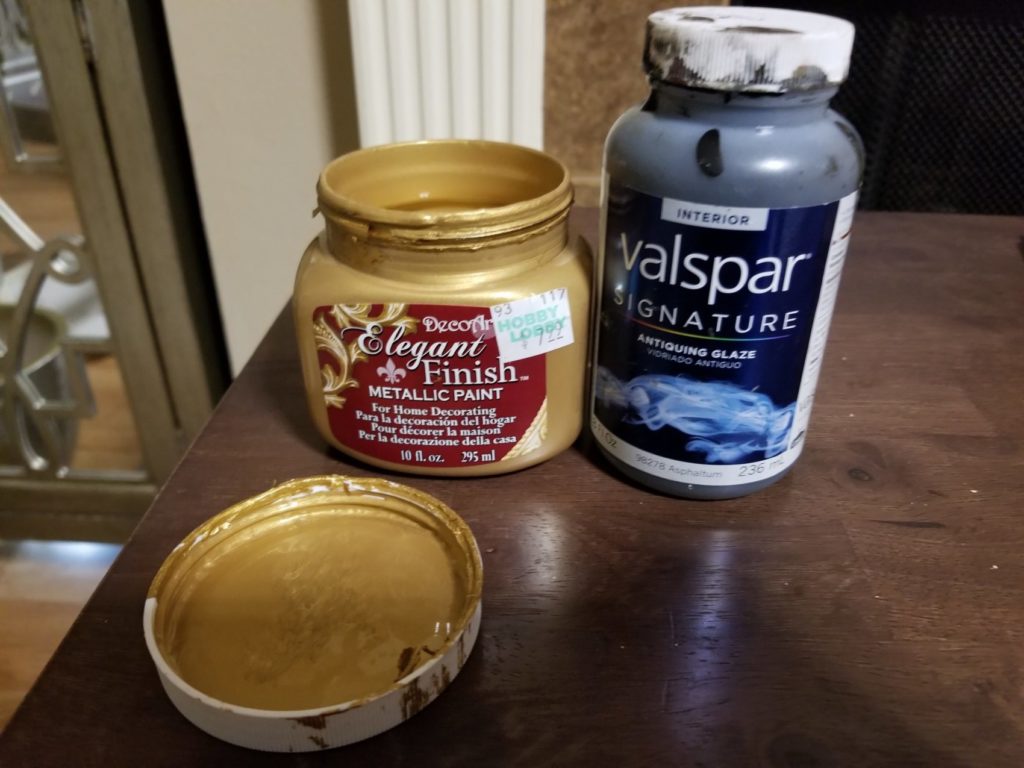
I’m using Valspar Signature Antiquing Glaze in color Asphaltum #98278 over every part of the chair except the balls in the claws. Once I get the look I want, I allow the paint to cure on the chair to cure over night.
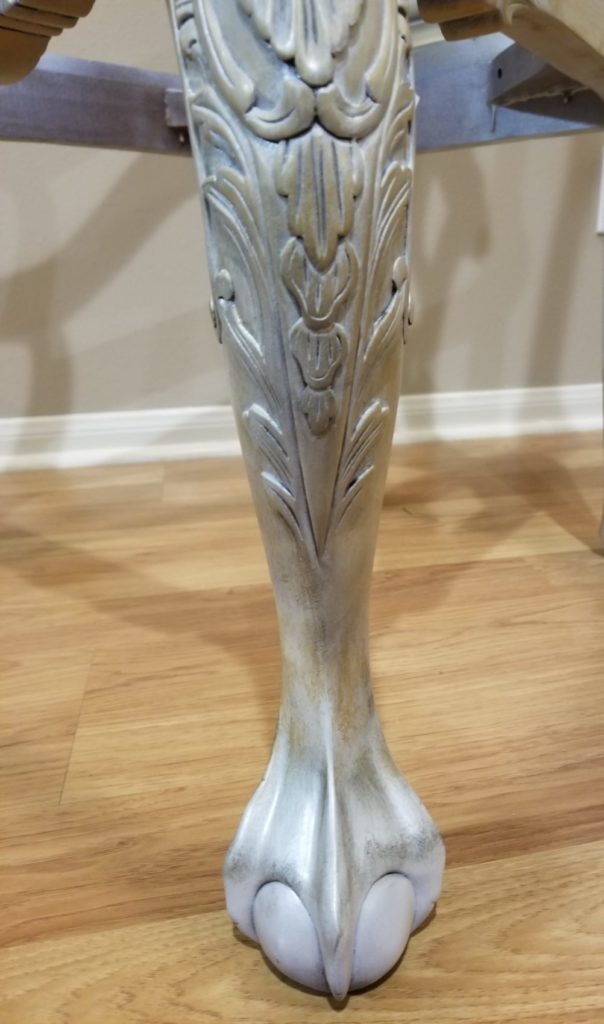
I then do a dry brushing technique using DecoArt Elegant Finish in Glorius Gold. It is a Water-Based paint, which is okay because I’m painting “over” oil based painted surface. Both of these can be purchased at Hobby Lobby, Michaels and most likely your local craft shop.
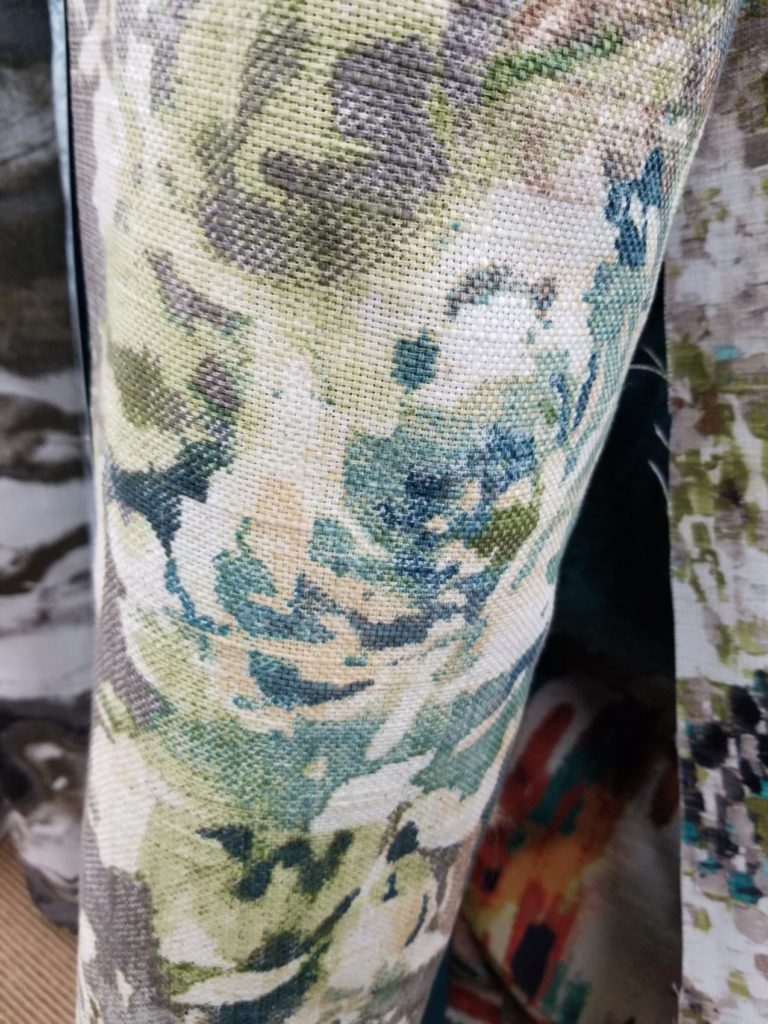
I found this Fabric on Clearance at Interior Fabrics in Houston. It’s really good quality, durable and the colors are perfect for this room. It was easy to remove the stapled on fabric. Once removed, I cut out the same shapes using the previous fabric out of the new fabric and stapled new fabric on using heavy duty staples.
The Completed Project
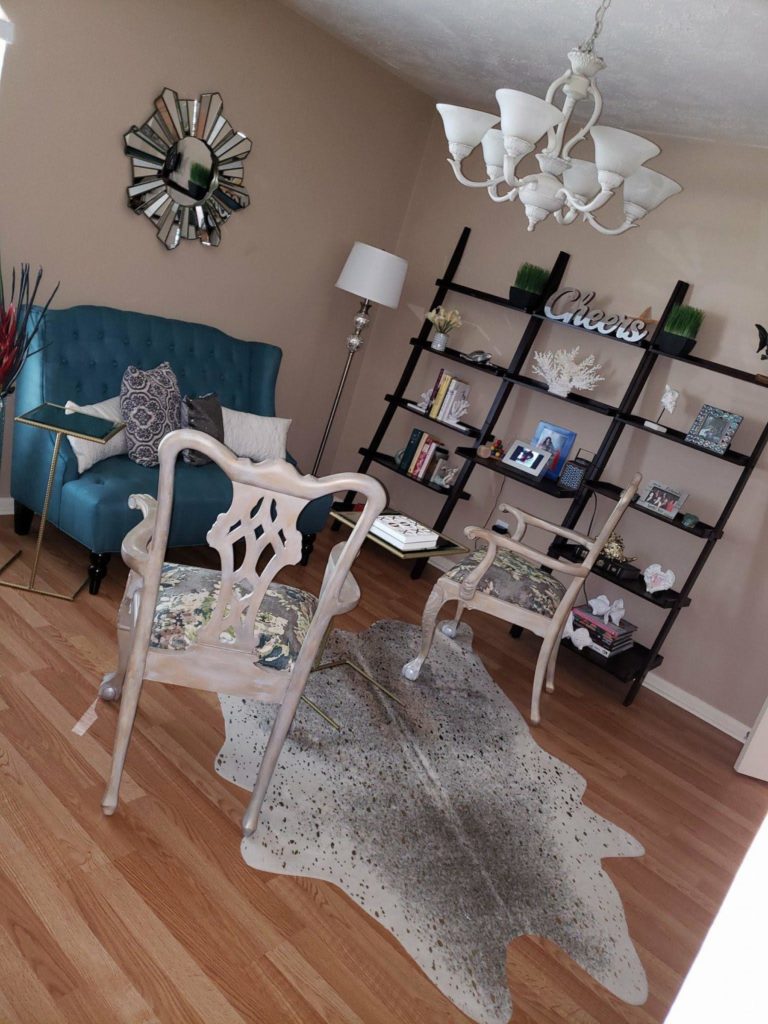
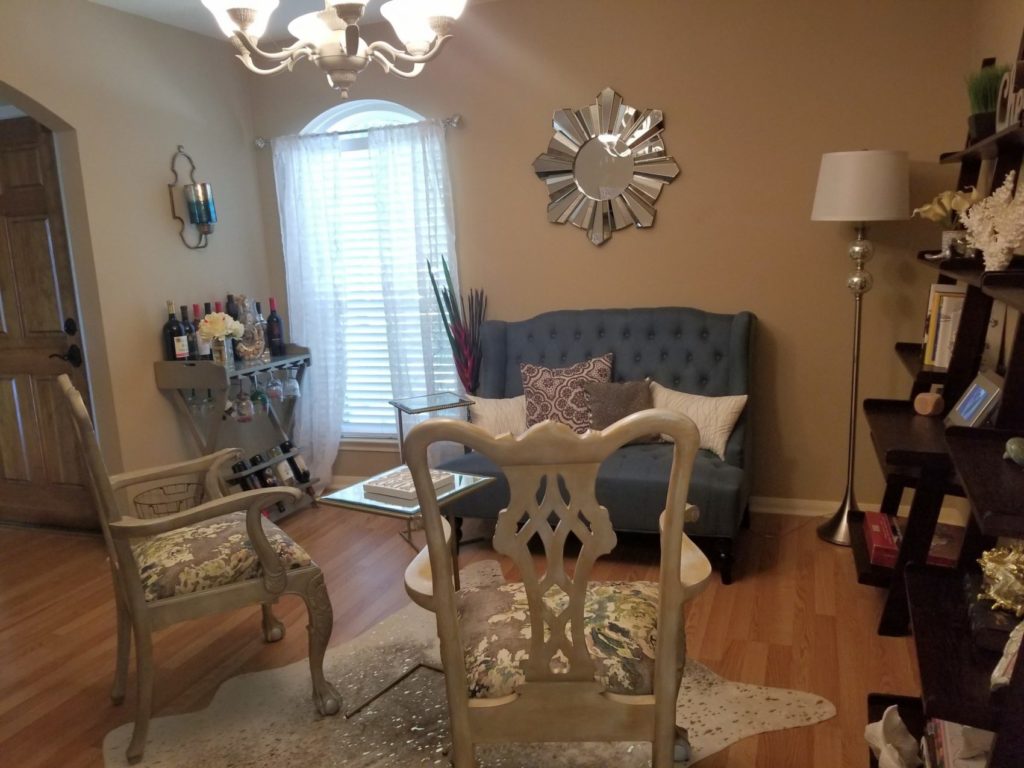
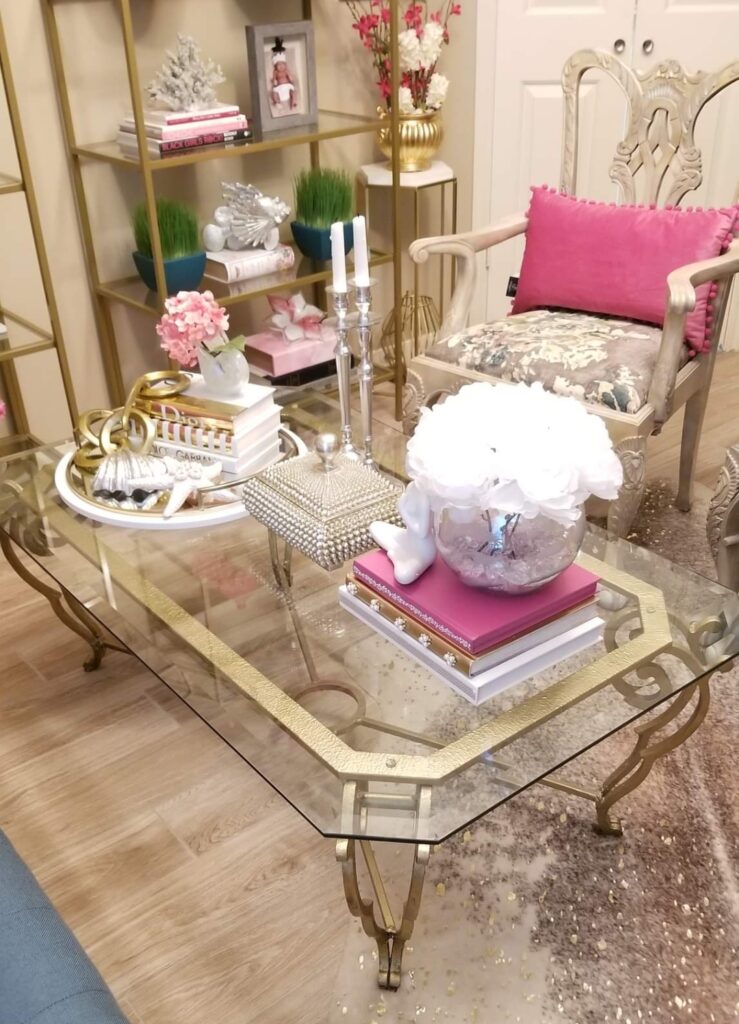
So here is the Before and After of the first chair, which I’m very happy with. It’s like masculine and feminine, night and day, yin and yang 😀 I personally feel it’s definitely more feminine and elegant now.
Thanks for stopping by!

![]()
