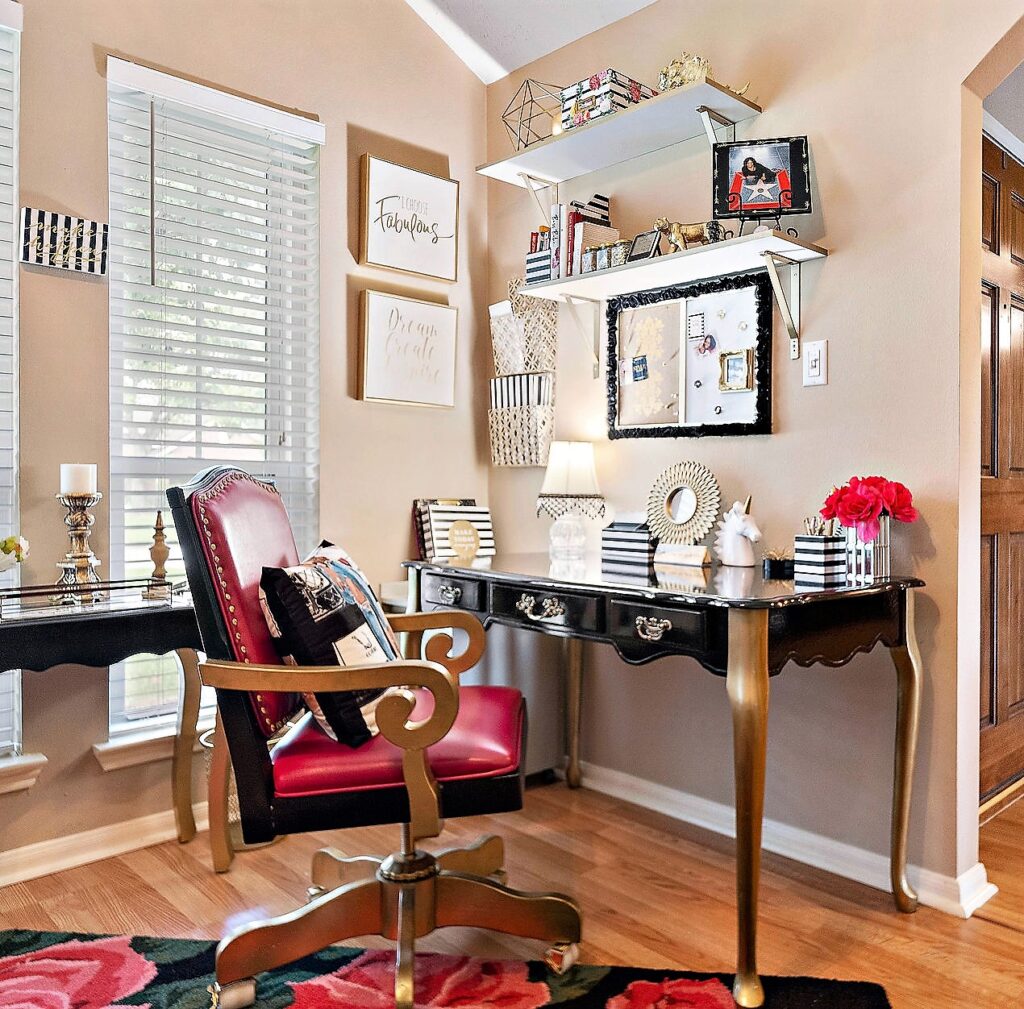
Keep reading to learn of how I painted my desk a glassy black and gold and also how I located the perfect hardware.
After almost 9 months of living in my home, I decided it was time for me to complete my office. I knew I wanted a feminine desk with Cabriole style legs (curved legs). I found one on app 5Miles which was pretty close to the look I wanted and it was only $40 so I met up with the seller and drove it home myself as it was quite lightweight.
In the photos below, you can see in the photos that the desk is in pretty good condition. I cleaned it up with alcohol and a lint free cloth (aka an old t-shirt) and removed the original hardware. There was no sanding necessary for this piece. It’s very smooth and didn’t require any repairs either. If you have old worm holes or wood is splitting, you may want to fill in with wood filler and sand smooth.
Because I knew the surface of my desk would be an high traffic area, I decided to use an oil based paint, because it’s more durable although it takes longer to dry and minerals to clean up or correct.
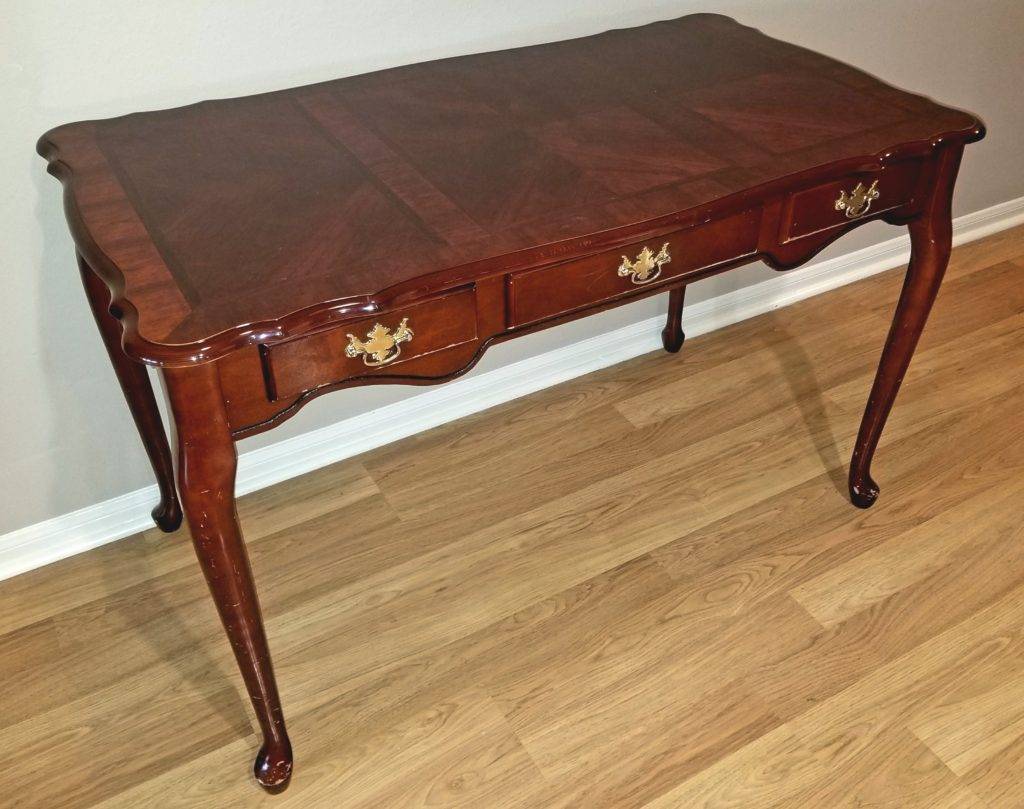
Painting Desk with Oil-Based Paint
So for the top of the desk meaning everything besides the legs, I went with Rust-Oleum Semi-Gloss Black Protective Enamel Oil Based Paint. Because of it’s name, it’s often thought to be used for primarily outdoor and metal however it’s actually for exterior/interior surfaces such as wood, metal, concrete, masonry.
If you’re gong to use oil-based paint, also purchase some Mineral Spirits to clean up any paint necessary or to thin paint. There are lots of other black paint options to choose from, this one is convenient, affordable and never fails for me. Choose your favorite.
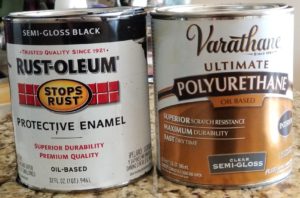
Products Needed for Oil Based Paint
Disclosure: Some of the links provided on my blog are affiliate links, meaning never at any additional cost to you. I may earn a commission if you click on those links and make a purchase.
- 32 oz Rust-Oleum Semi-Gloss Black Protective Enamel Oil Based Paint
- 32 oz Varathane Oil-Based Semi-Gloss Interior Polyurethane. I bought 32 oz/1 quart and was more than enough.
- Oil Based Paint Brushes
- Multiple large foam brushes
- Mineral Spirits for thinning and clean up
- Fine Sanding Sponge
Products Needed for Water Based Paint
- 32 oz of Latex/Water-based paint for Wood. I like Rust-Oleum Painters Touch Latex Semi-Gloss Black
- 32 oz Latex/Water-based Gloss Interior Polyurethane (Semi-gloss for less shine)
- Water-based Paint Brushes or Foam Brushes (based on preference). I prefer foam brushes
- Fine Sanding Sponge or Paper (based on preference)
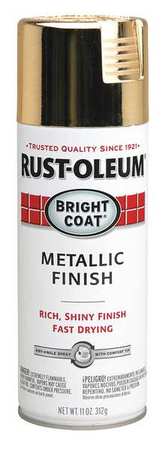
For the legs, I used 2 cans of Rust-Oleum Metallic spray in Gold
Painting My Desk Begins
So now that I’ve decided to paint my desk black and gold, I started by painting the the desk without the drawers first applying 1 coat and allowing it to dry between coats when it is dry to touch. The dry time the paint provides really depends on your weather conditions or environment. I live in Texas, so it’s quite humid even when painting indoors. With this in mind, I allow each coat to dry 5 hours or over night. Oil-based paints dries much slower, so you’d have to allow more time. Water-based I’d say you can apply new coats every hour until satisfied. Again, this will depend on your environment.
With oil-based paints, patience is a must because if you’re a perfectionist like I can be at times, this project could take several small corrections during the process. Not really able to correct until dry which can take a day. Basically, just not as easy to fix mistakes with this kind of paint as it is with water-based. If I saw a unsightly brush mark or bubbles, I’d have to wait for it to dry to fix it in most cases. By fixing it, I mean mostly sanding it and then starting a whole new coat. First and second coat paint was fine. By the 3 and 4th coat, I needed to thin the paint using just a tad of the mineral spirits to get like a liquid/drinkable yogurt like consistency for final coat.
I did lightly sand once paint was dry using a 400 Fine Grit Sand Sponge in between the coats on all of the black paint.
I went on to apply one coat of the oil-based gloss polyurethane on all black parts of the desk.
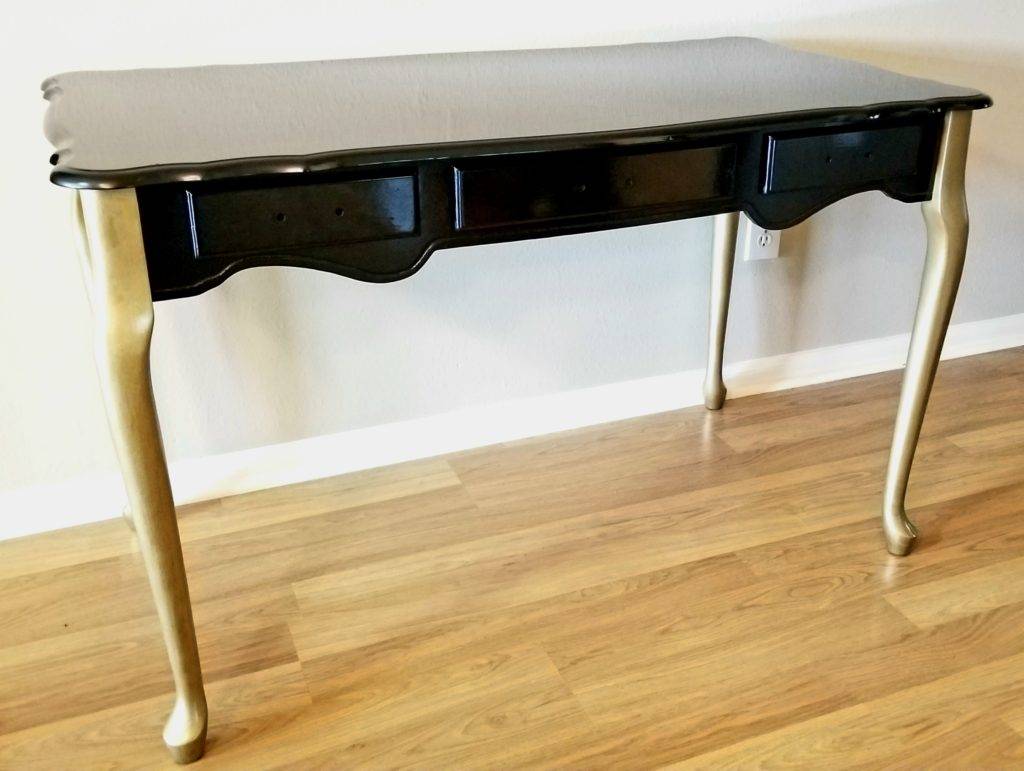
Easy Quick Painting the Legs
For the legs, I simply took them outside, laid them down on some cardboard and sprayed painted one side at a time. This look will take more than 1 can of spray. As long as it’s not windy or too damp and humid outside spraying is best for the metallic look I was going for. Allow each side to fully dry before turning. The cardboard allowed me to carry them inside at night without touching. Once they are fully painted use a large piece of paper bag or printer paper to smooth out if the surface feels a little sandy. If you did this, you will need to wipe down with lint free cloth or tacky cloth so that the clear-coat goes on clear.
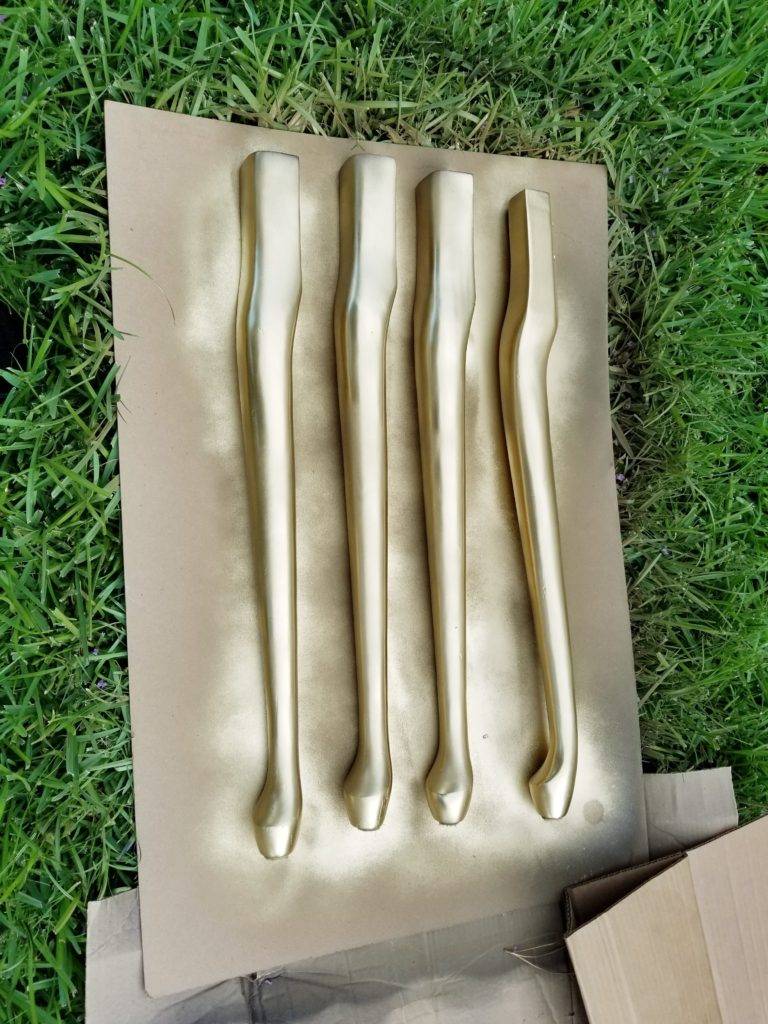
There are multiple versions of this Rust-Oleum metallic paint in Gold. This is the one that I used in photo below, but the Rust-Oleum Specialty Metallic Spray in gold is great too. It has actual metals in it and looks closer to metal. The one I used for this project photo is below and is a softer gold as shown in the photo above.
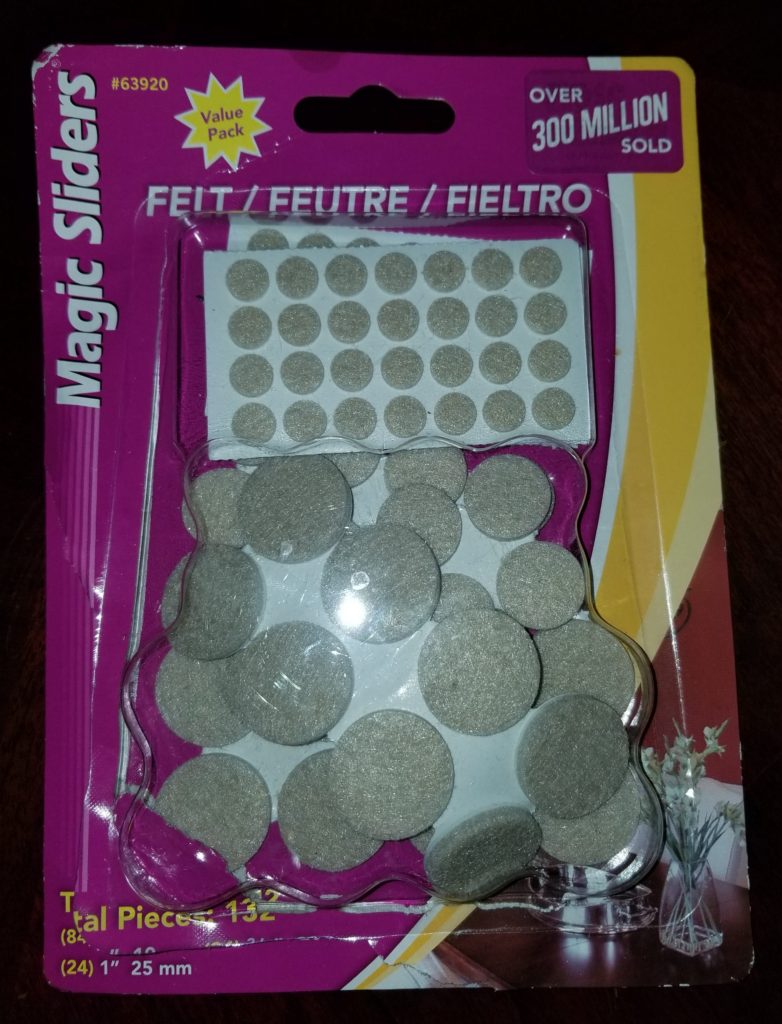
I also applied magic sliders on the foot of each leg so that the desk slides easily and protects my beautiful faux wood floors :-D. You can get these from Walmart, Hobby Lobby, Michael’s or Ace Hardware. There should be similar stores wherever you may be.
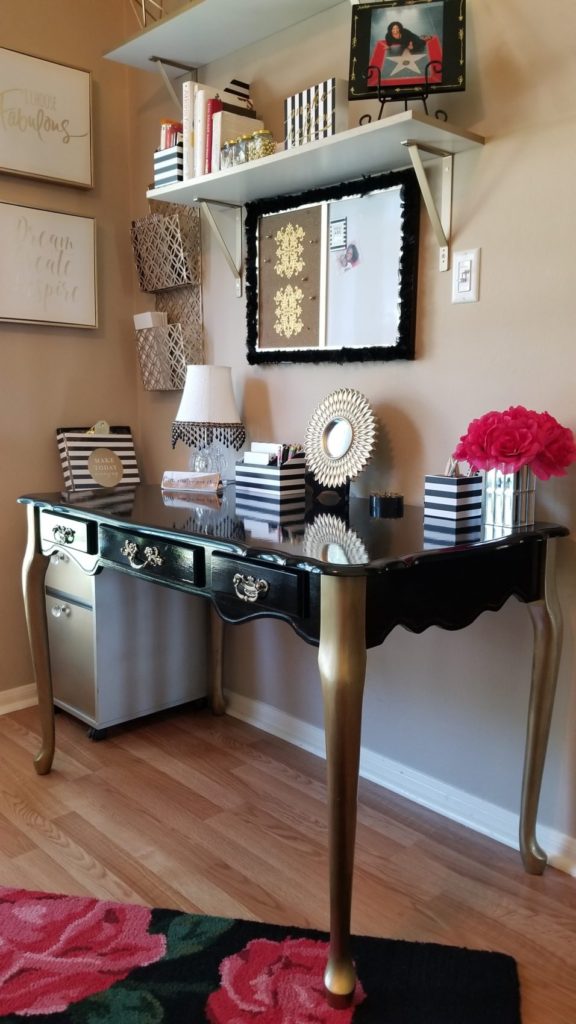
Final Look
As you can see in the photos below, the glossiness with mirror effect for some reason is more apparent when painting with semi-gloss oil based paint and is exactly the look I was going for. I’ve never gotten this mirror shine using latex paint.
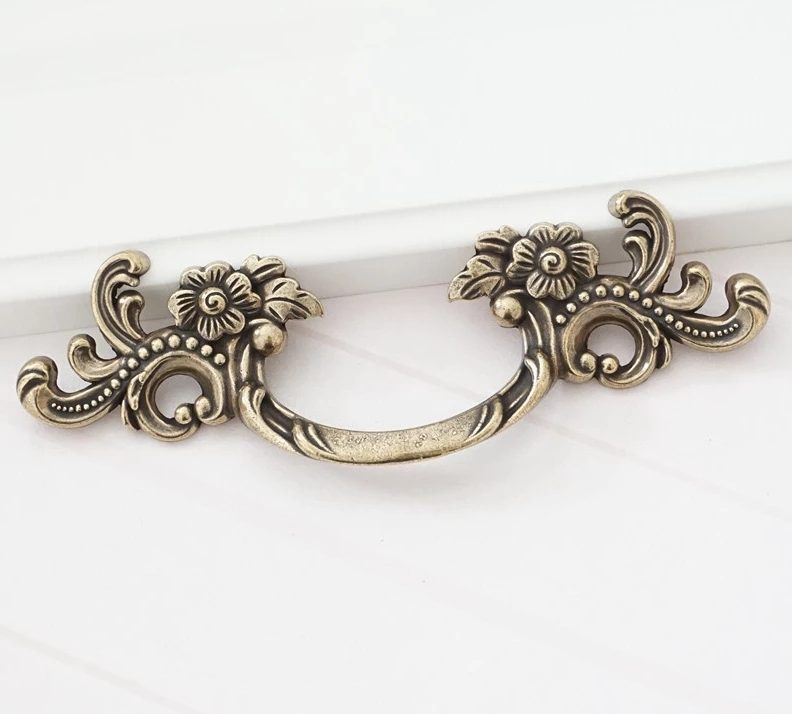
The hardest part for me with my DIY Painted Glam Desk makeover was finding the perfect hardware. I tried Hobby Lobby and lots of other places. I eventually found the middle drawer pull overseas. Yesss! I ordered online using the Aliexpress app. The 2.5 inch drawer pulls on both ends were purchased on Amazon. They weren’t as gold as I wanted so I applied a little Rub N Buff in Antique Gold to all hardware which dries really quick and easy to apply with your fingers. I’ll post link for two end drawer pulls below.
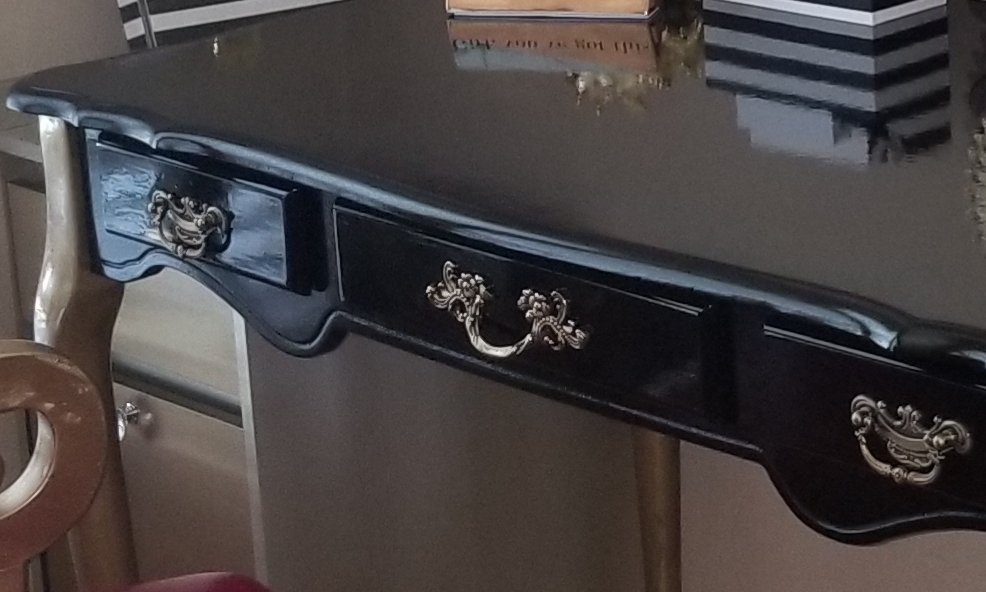
Closeup of middle Drawer pull. Looks much lighter in manufacture’s photo because I used gold Rub N Buff on mine. See more vintage like drawer pulls here.
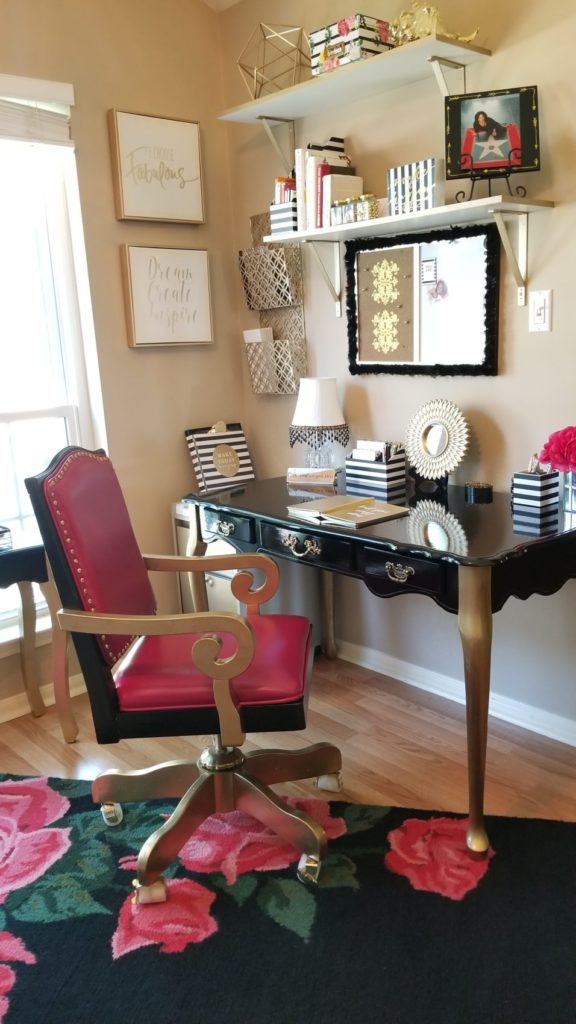
The chair in the photo was also painted. Yesss! Leather can be painted. Click link to check it out!
I hope you’ve been inspired to Glam up your desk! 😉 Comment Here.
If you love this post and want to see more glam posts, please show some love by clicking on the Heart below and sharing my posts with your friends. Thanks always!


![]()