
Let’s Get This Halloween Party Started
Hey y’all! Halloween is right around the corner, and if your front door is looking a little meh, I’ve got just the thing. Nothing says “boo-tiful” like a festive wreath to welcome guests (and trick-or-treaters). That’s why I put together these Easy DIY Halloween Wreath Projects That Take Just One Day, because spooky style should be simple and fun, not stressful.

This site contains affiliate links at no additional cost to you, view the Privacy Policy for more information.

The best part? These easy DIY Halloween wreath projects ideas don’t take a week of crafting or a stash of fancy tools. We’re talking about quick projects that are affordable, customizable, and oh-so-cute. Whether you’re into chic and stylish, creepy and haunted, or bright and playful, there’s a wreath here with your name on it.

So grab your glue gun, crank up the Halloween playlist, and let’s dive into five easy DIY Halloween wreath projects you can whip up in just one afternoon. With these tricks (and treats), your door will go from tired to terrifyingly awesome in no time.
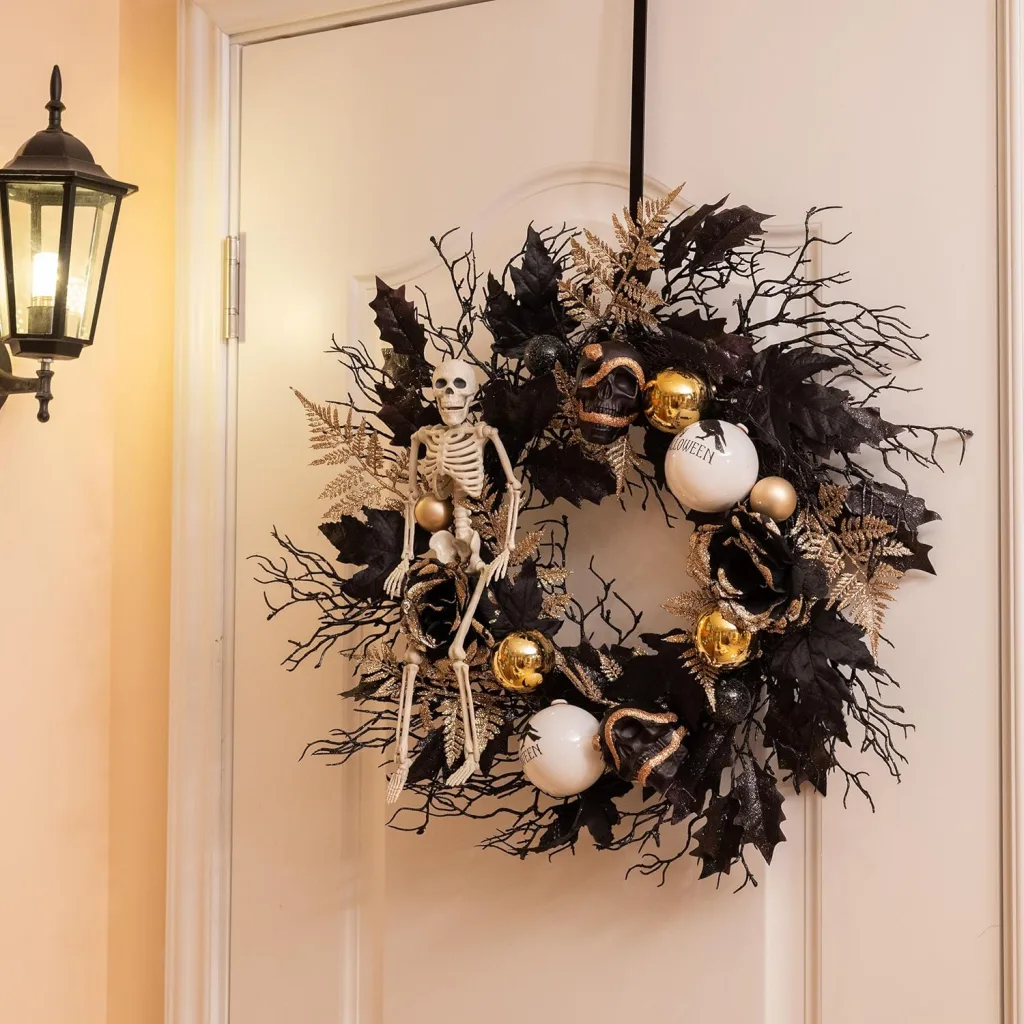
DIY Halloween Ornament Wreath with Pumpkins & Bats
If you’re looking for a Halloween wreath that’s bold, colorful, and a little spooky-but-fun, this pumpkin-and-bat ornament wreath is perfect! You can totally recreate this Amazon piece at home with just a few supplies. Plus, it’s a project that looks impressive without being complicated.

What You’ll Need:
- A wire wreath frame (14–16 inch works best)
- Hot glue gun + glue sticks
- Black and purple tinsel garland (to wrap the base)

- Plastic ornaments in orange, purple, black, and gold (variety of shiny, matte, and glitter finishes)

- Mini foam pumpkins (with jack-o-lantern faces if you can find them, or paint your own with black craft paint)

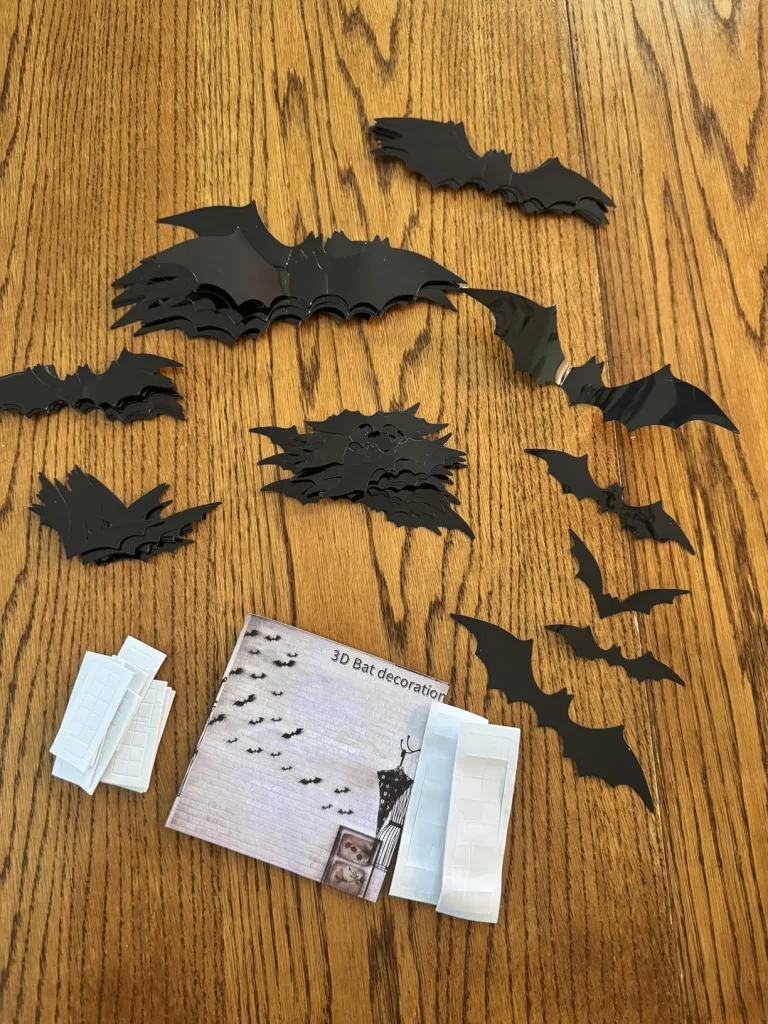
- Plastic bats or bat cut-outs (foam or felt works too!)
- Pipe cleaners in Halloween colors (purple, green, or black).
- Small LED fairy lights (optional, but it makes it glow at night ✨)

Steps to Recreate It:
- Wrap the Frame: Cover your wire wreath frame with black or purple tinsel garland to make the base nice and full.
- Start with Ornaments: Use a mix of large and medium ornaments to create the foundation. Hot glue them around the wreath, alternating colors and finishes.
- Add Pumpkins: Tuck mini foam pumpkins between the ornaments. If you can’t find pumpkins with faces, just paint or draw them on with black paint or a permanent marker.
- Bats & Extras: Hot glue plastic bats so their wings extend outward for a fun 3D effect. Add pipe cleaners curled into spirals to give a whimsical touch.
- Optional Lights: Wrap LED fairy lights around the wreath to give it a magical glow at night.

Tips for Success:
- Use Shatterproof Ornaments – They’re safer to work with and won’t break if they fall.
- Mix Sizes & Textures – The combination of shiny, matte, and glitter ornaments makes it look more high-end.
- Layer, Don’t Line Up – Place some ornaments deeper in and some on top to add depth.
- Hang with a Strong Hook – This wreath can get heavy, so make sure you secure it well.
Haunted House Boo-tiful Wreath
When it comes to Halloween décor, sometimes spooky is fun and sometimes spooky is adorable! This haunted house wreath is a perfect example. With little ghosts, bats, pumpkins, and even a witch flying by, it’s the kind of decoration that looks like you spent forever on it, but really, it’s one of those Easy DIY Halloween Wreath projects you can pull together in a single day.

What You’ll Need:
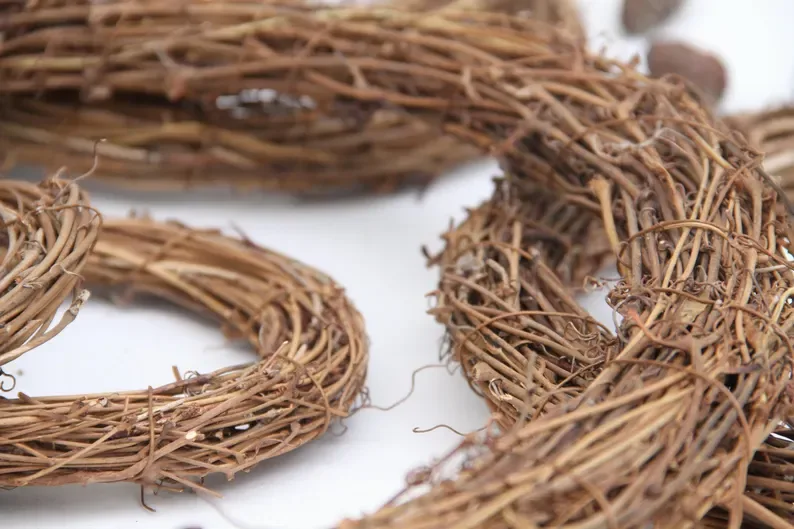
- Grapevine wreath form (or a black twig wreath if you can find one)
- Black spray paint (to darken the branches)
- Small foam pumpkins (mix of matte and glitter looks awesome)
- Cardstock or foam cutouts or print it yourself (haunted house, ghosts, bats, witch, etc.)

- Googly eyes (because Halloween is never complete without them 👀)

- Hot glue gun + glue sticks
- Ribbon for hanging (orange or black)

How to Make It:
- Prep the Base: Spray your grapevine wreath with black paint and let it dry, this creates that spooky backdrop.
- Add the Haunted House: Cut a haunted house shape from black cardstock or foam, then glue it into the center of the wreath so it peeks out dramatically.
- Pumpkins First: Glue mini pumpkins around the bottom edge for that fun Halloween pop of orange.
- Ghosts & Bats Everywhere: Add cutout ghosts and bats around the wreath so it looks like they’re flying all around.
- Googly Eye Bonus: Stick on a pair of googly eyes where no one expects them (your guests will laugh).
- Hang with Ribbon: Tie an orange or black ribbon at the top, and you’re ready to show off your masterpiece.

Bat-tastic Haunted Night Wreath

Sometimes less is more, and this spooky-chic wreath proves it! With bold black bats circling a haunted house, this is one of those Easy DIY Halloween Wreath projects that’s simple but still makes a big statement. It’s perfect if you love Halloween but don’t want a project that’s too complicated (or too glittery).
What You’ll Need:

- A plain round wreath frame (metal or wood works best)
- Black spray paint (matte or satin finish)
- Cardstock or foam cutouts of bats, haunted houses, and creepy trees (or buy pre-made silhouettes)
- Hot glue gun + glue sticks
- Optional: LED tea lights (to place behind the haunted house for an eerie glow

How to Make It:
- Paint It Black: Spray paint your wreath frame black so it blends with your silhouettes.
- Haunted House Base: Glue the haunted house silhouette across the bottom of the wreath.
- Add the Bats: Arrange bats flying around the top and sides of the wreath, vary their wing positions to make them look like they’re in motion.
- Spooky Details: Add a creepy tree silhouette or a witch cutout if you want extra flair.
- Light It Up (Optional): Place an LED tea light or fairy lights behind the haunted house so it glows at night.
How I Made a Dollar Tree Halloween Wreath Look Expensive
It’s time to grab your Halloween décor, friends, like YESTERDAY! Dollar Tree always has new Halloween goodies hitting the shelves every single week, and trust me, they go fast. Check your store often as we get deeper into spooky season, because you don’t want to miss the best finds.
For this project, I took a few simple items from Dollar Tree and gave them a bougie, budget-friendly twist. The result? A Halloween wreath that looks high-end without the scary price tag.
Here’s the full video so you can watch how I made this Dollar Tree Halloween wreath look way more expensive than it really is:
Spooky & Stylish Easy DIY Halloween Wreath Theme Ideas
Not sure where to start? No worries, sometimes the hardest part is just picking a theme! Whether you’re going for creepy, cute, or classy, here are a few Halloween wreath ideas that will spark your creativity.
Crows & Ravens
Nothing sets the tone for Halloween like a crow or raven perched on your wreath. You can layer them onto a base of twigs, moss, and black ribbon to create that “haunted woods” vibe. A little touch of faux cobweb makes the whole wreath feel straight out of a spooky movie scene.
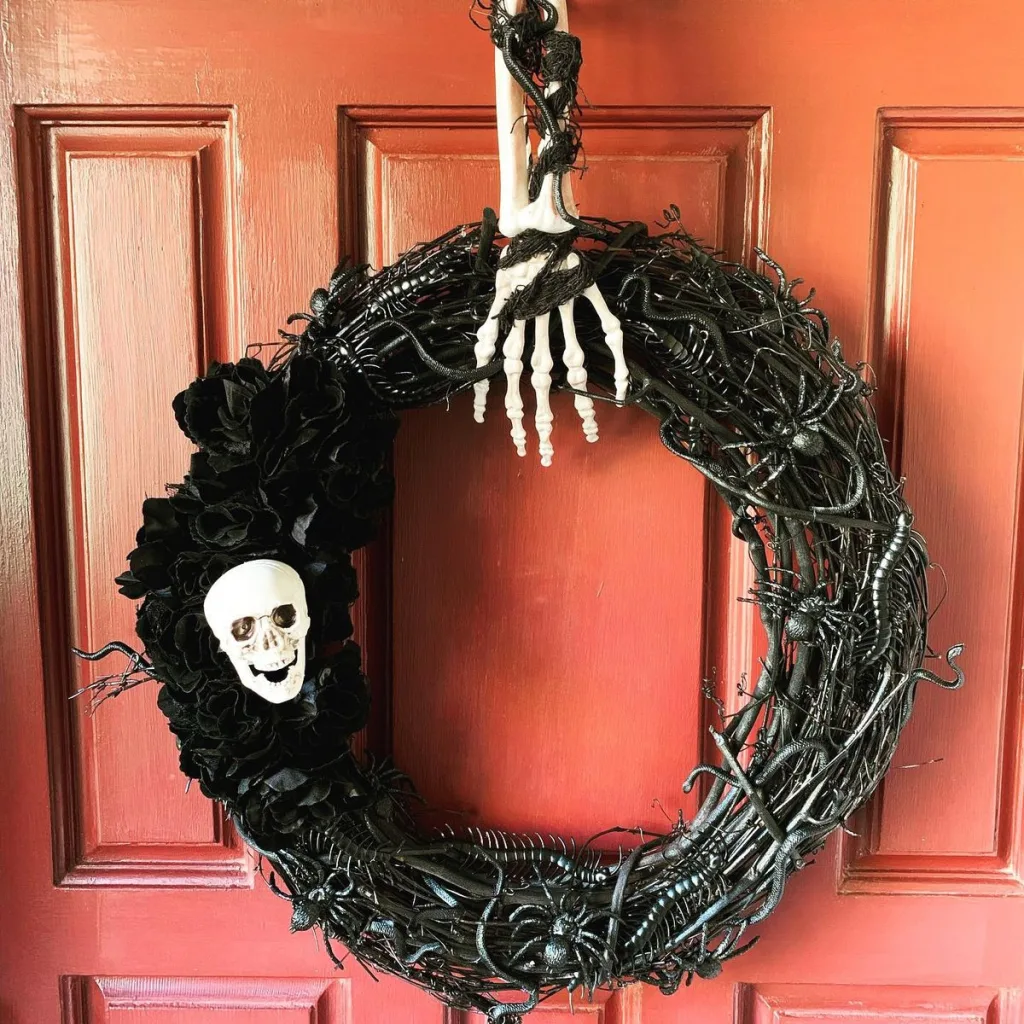
Skulls & Bones
For a gothic touch, add mini skulls or plastic skeleton hands peeking out from the wreath. Spray-painting them with metallic silver or gold gives them an expensive, glam look without losing the creepy factor. Perfect if you want something that’s a little spooky and a little stylish.
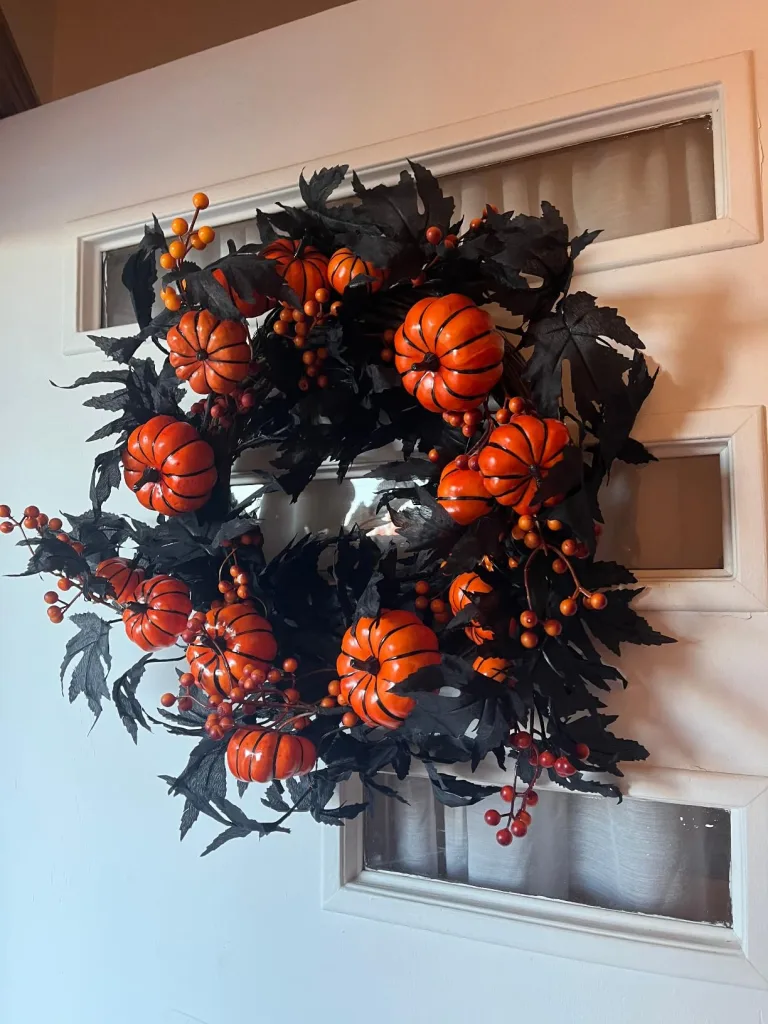
Pumpkin
Mini pumpkins are a Halloween must-have! You can stick with classic orange or go bold with black, glitter, or even pastel colors for a modern twist. Pair them with black leaves, ribbon, or a few vines, and suddenly you’ve got a wreath that’s wickedly chic!
Witches & Bats
Nothing says Halloween like witches and bats! Pop on a small witch hat, add a broom across the bottom, or glue on a few bats that look like they’re flying off the wreath. This one is playful, a little quirky, and perfect for doors that get lots of trick-or-treat traffic.

Spiders & Webs
Want maximum creep factor? Here is an easy DIY Halloween Wreath idea! Go with stretchy spiderwebs wrapped all around your wreath base. Add a couple of oversized spiders crawling across it, and you’ve got a wreath that’s scary in the best way. Bonus idea: grab glow-in-the-dark webbing or use a blacklight for an extra eerie effect at night.

Your Spooky Door Awaits
And there you have it, friends, so many ways to bring your front door to life with these Easy DIY Halloween Wreath Projects That Take Just One Day. Whether you’re building from scratch, trying one of the fun themes, or giving a Dollar Tree find a glow-up, these ideas prove that Halloween decorating doesn’t have to be complicated or expensive. A little creativity goes a long way!

Remember, the magic of an Easy DIY Halloween Wreath is that you can make it totally your own. Mix pumpkins with bats, glam up some skulls with glitter, or keep it classic with a crow and some cobwebs. However you style it, your door will be ready to welcome trick-or-treaters, party guests, or just give your neighbors something to smile (or scream) about.

Before you go, don’t forget to follow along on Pinterest, Instagram, TikTok, and YouTube (@LaniDoesIt) for even more bougie budget-friendly Halloween inspiration. And if shopping is your jam, check out my shop,Curated by Lani for handpicked seasonal finds you’ll love. Trust me, Halloween is just the beginning, and you won’t want to miss what’s coming next!
Check out the blog post below next!


![]()