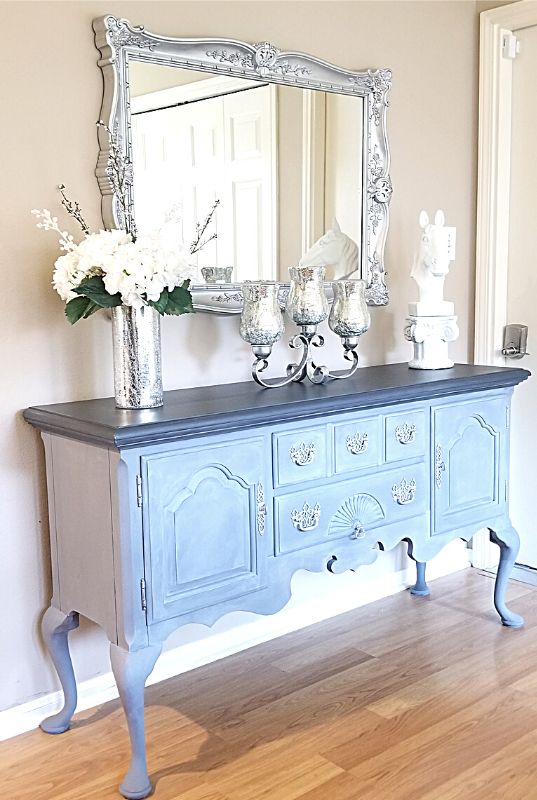
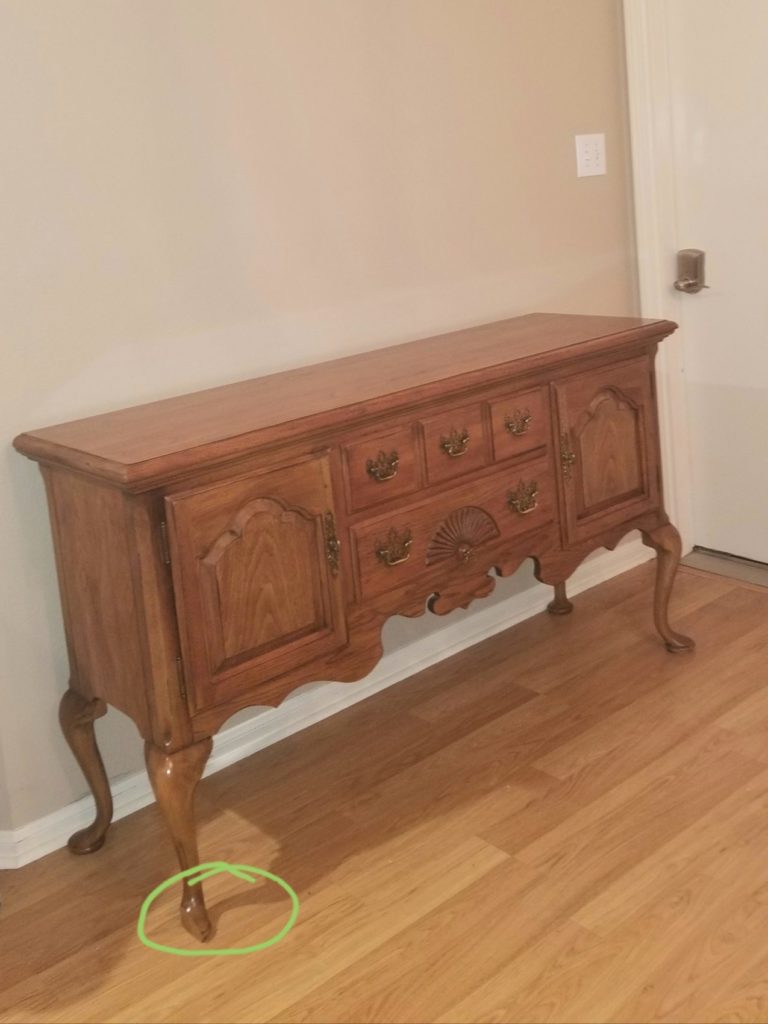
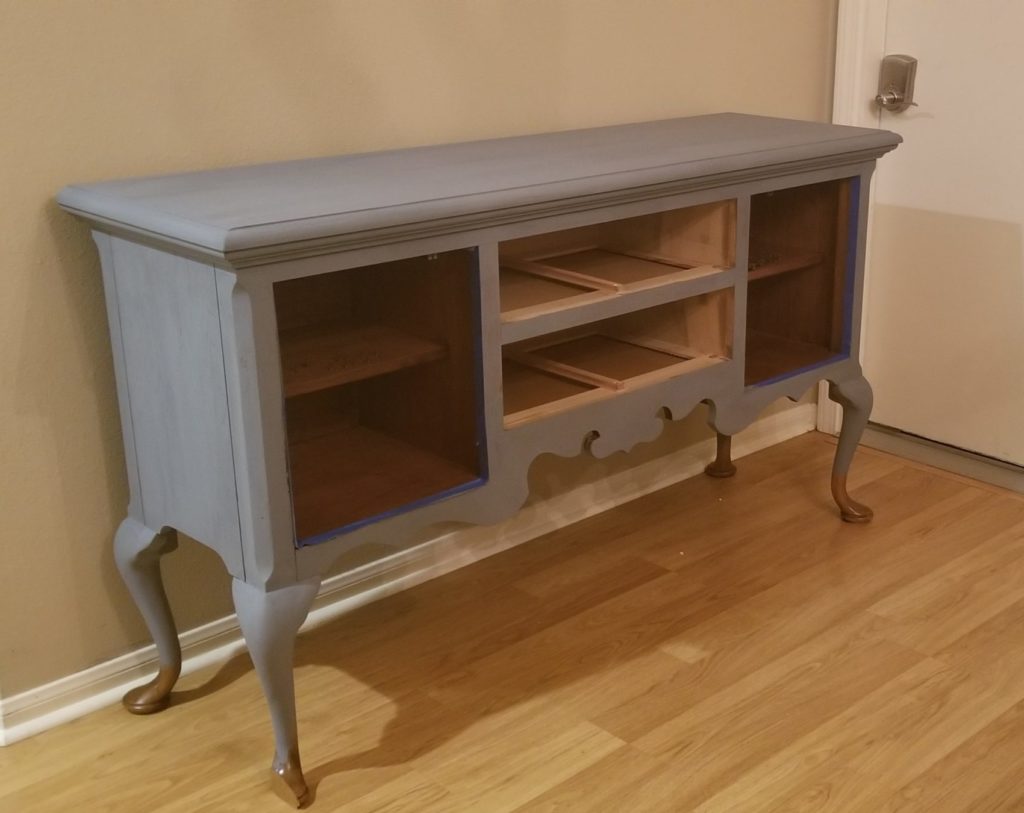
I feel so lucky finding this Thomasville buffet table on Facebook Marketplace for $100. It’s in like-new condition; however, if you look closely at the front left foot below, you’ll see it is broken. I’m not sure how this happened, but what I did know is that it could be fixed. I love doing DIY furniture makeovers and this damaged buffet will be an easy fix with rewarding results. However, full transparency – this is the first time, I’ve ever attempted to repair a broken foot on a piece of furniture.
If you’re here for the buffet makeover before and after, continue on reading my Chalk painting buffet and repairing the broken foot. I can assure you it’s beginner friendly. You could use existing chalk paint, buy chalk paint premade or design your own in color you want using a easy DIY Chalk Paint Recipe. There are so many chalk paint color ideas to choose from.
Preparing My Buffet
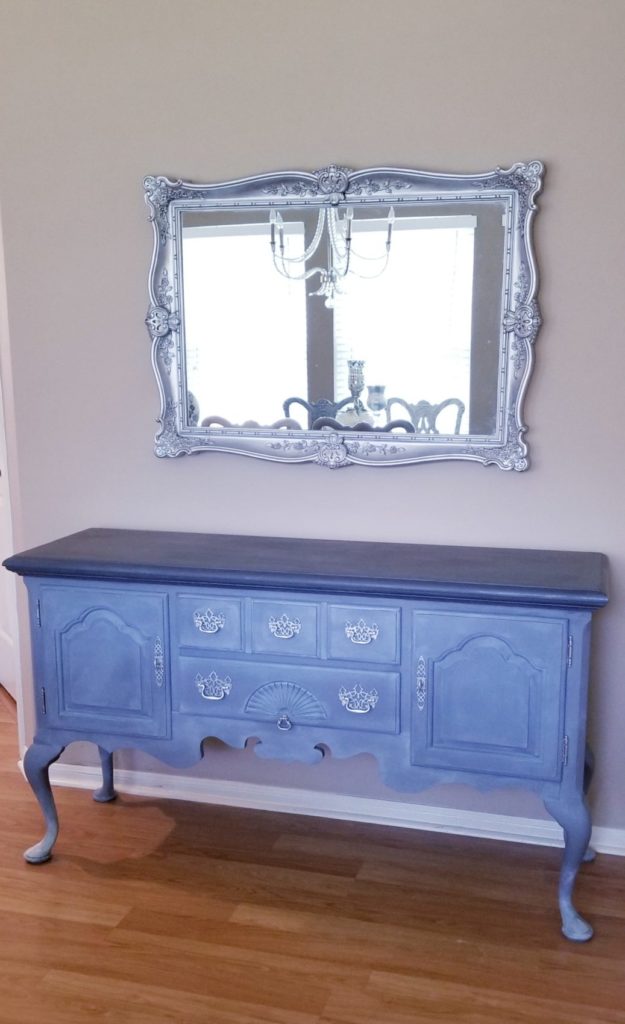
My goal for this buffet is to paint it to match the dining table and chairs project previously shared in a earlier post. I will also be changing all the brass hardware to silver using Rub N Buff in Silver Leaf. This means removing all the doors and hardware to be repainted and added back to the buffet later. This is a photo of the how the buffet looked when I finally managed to get it from my crossover SUV to the breakfast room (alone). My determination and adrenaline is all I needed!
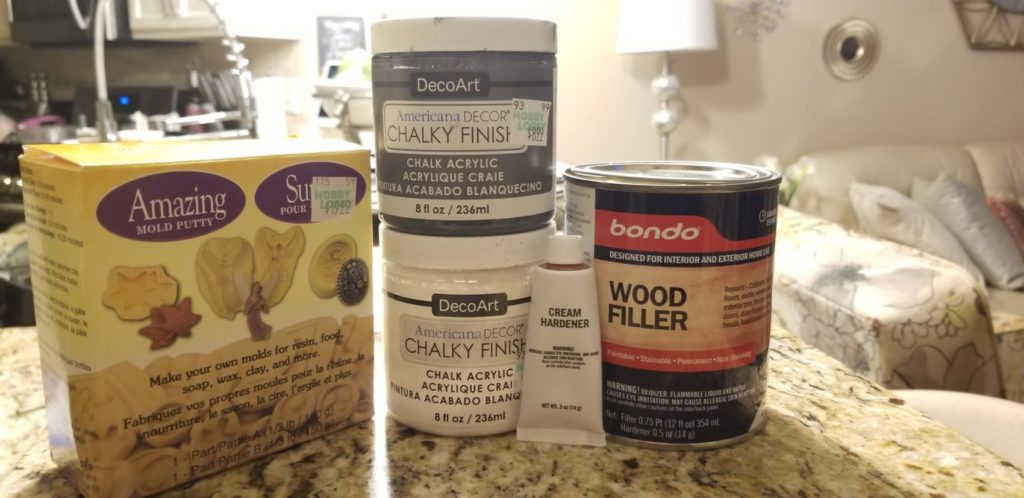
I’ll be using DecoArt chalk paint, Metallic Silver Rub N Buff, sand paper, Johnson Paste Wax, Waverly White Wax, Waverly Chalk Paint Brush, 220 Grit Sandpaper, Rub N Buff in Silver Leaf, painters tape and all the products shown below in the photo.
I consider this a project easy for anyone to do. Just be patient. This should be an enjoyable experience. Taking your time and having a new piece of furniture in just a few days.
Painting My Buffet with Chalk Paint
After removing doors and hardware, I clean my buffet using alcohol and a old t-shirt. Any lint-free fabric will do. Careful of any lint being left behind when cleaning. You could also clean with just water. Sanding prior to applying chalk paint is typically not necessary. So in most cases, you do not need to sand your buffet unless it is to flatten out imperfections.
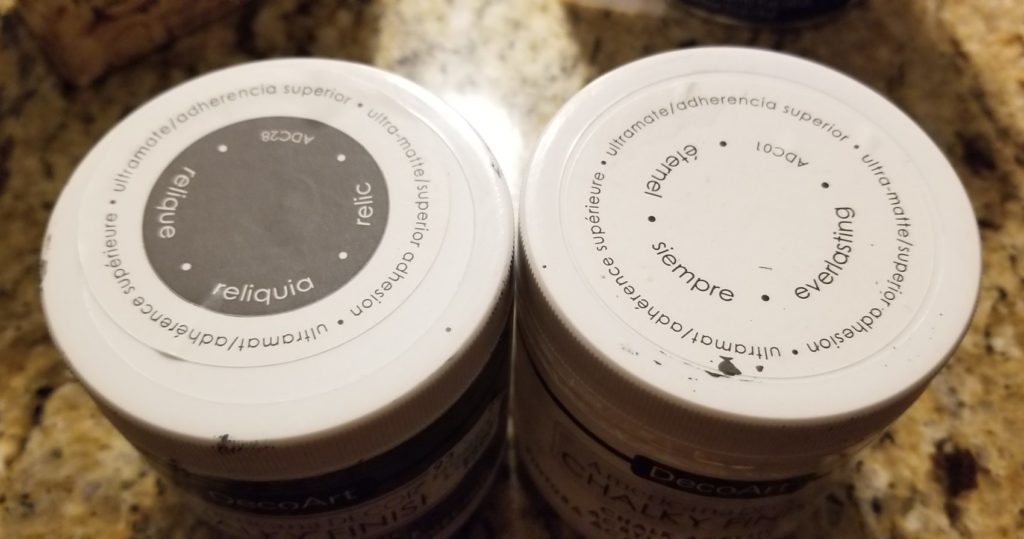
I am painting my buffet in 4 parts DecoArt Relic and 1 part DecoArt Eternal Everlasting Ultra Matte White. Relic is like a very dark gray. I just want the first coat for now, prior to repairing the foot.
Creating the Mold for Broken Leg/Foot Using Putty
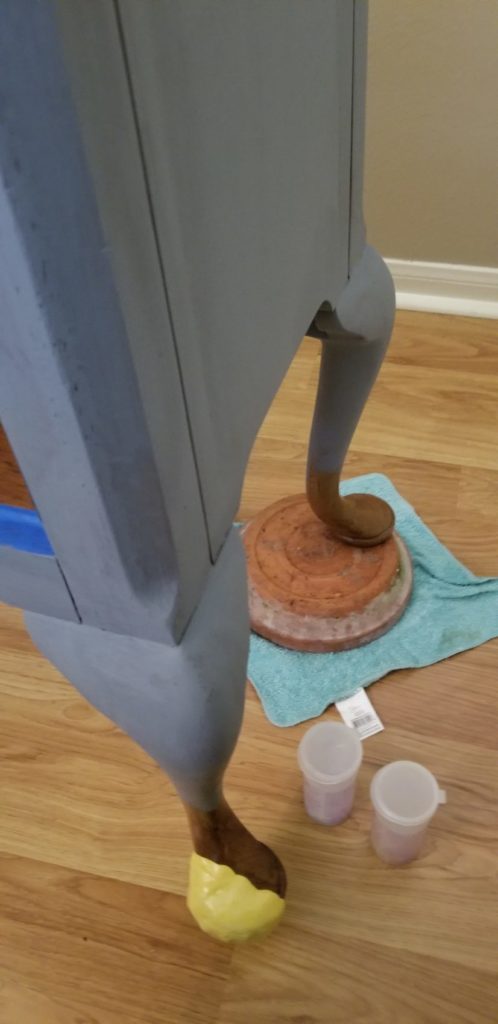
Now on to how to fix the slithered foot on this buffet, I am creating a mold of the foot on the opposite side using the Amazing Mold Putty shown in photos above. Per the directions, I use an even amount of both putties mixed together creating a small bull and pressing it on the foot to create the mold as shown in the photo below.

Creating a New Foot/Leg Using Bondo Wood Filler
Once the putty has firmed up like some thick rubber you can remove it from the object. Next I’m aligning it on the slithered foot to make sure there were no gaps, trimming off any unnecessary parts of the mold I wouldn’t need. I then filled the mold with the Bondo Wood Filler. Follow it’s instructions on how to mix this.
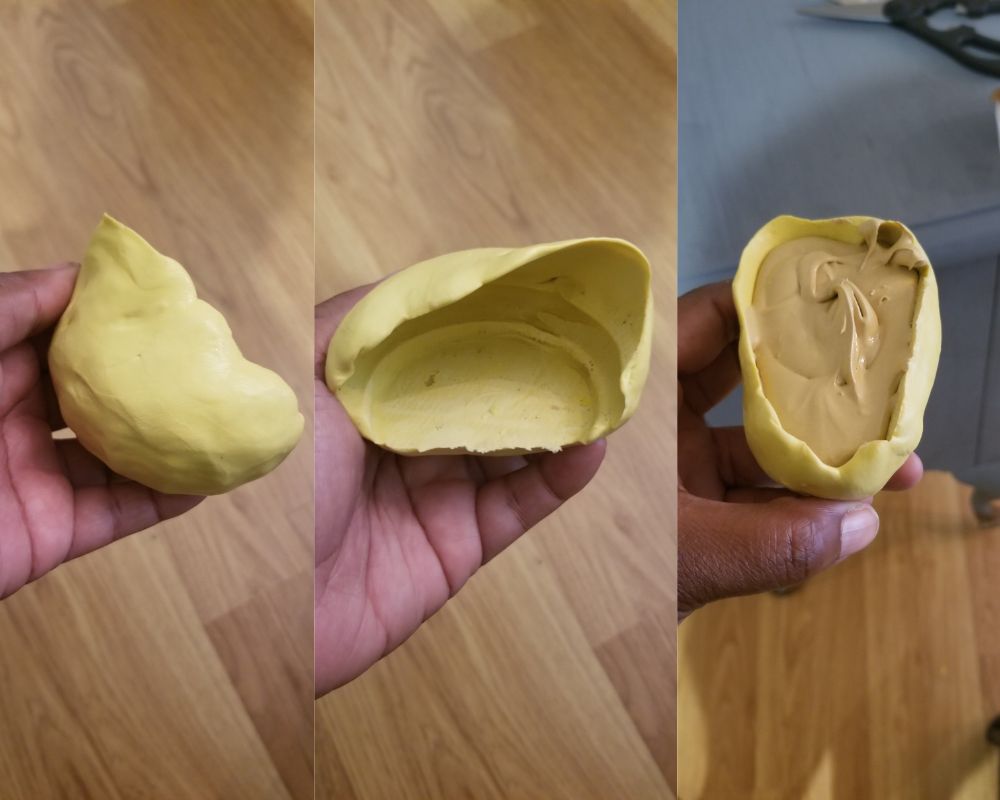
You will need some painters tape or similar to hold mold and Bondo in place.

Below is a closeup of what the bondo looks like once it is dried and the mold is peeled off or removed. I smoothed out the side I was gluing to the flat surface and glued to the slithered foot using E6000 glue and allowing it to cure for 24 hours.

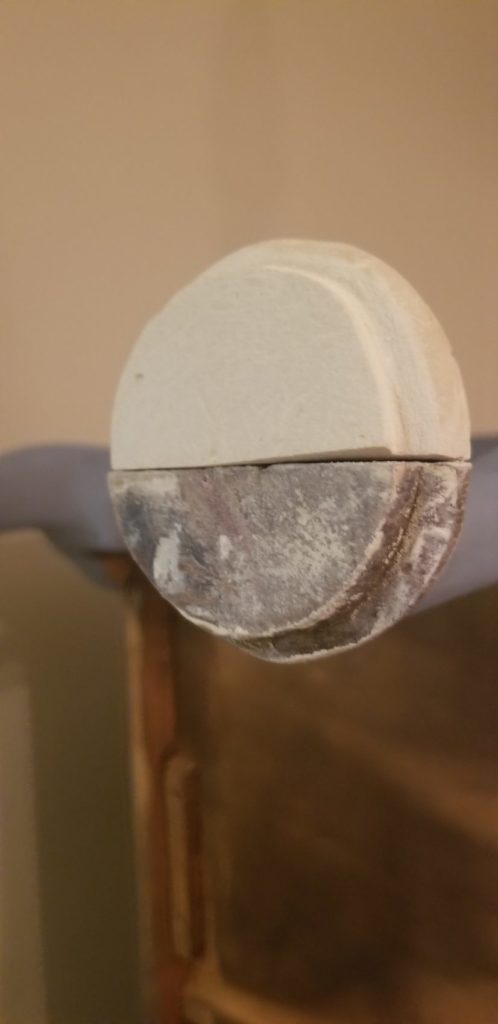
Once dried for 24 hours plus, I hand sanded using 220 grit sandpaper. I also filled in any gaps using wood filler while continuing to sand until smooth by hand sanding and electric sander.
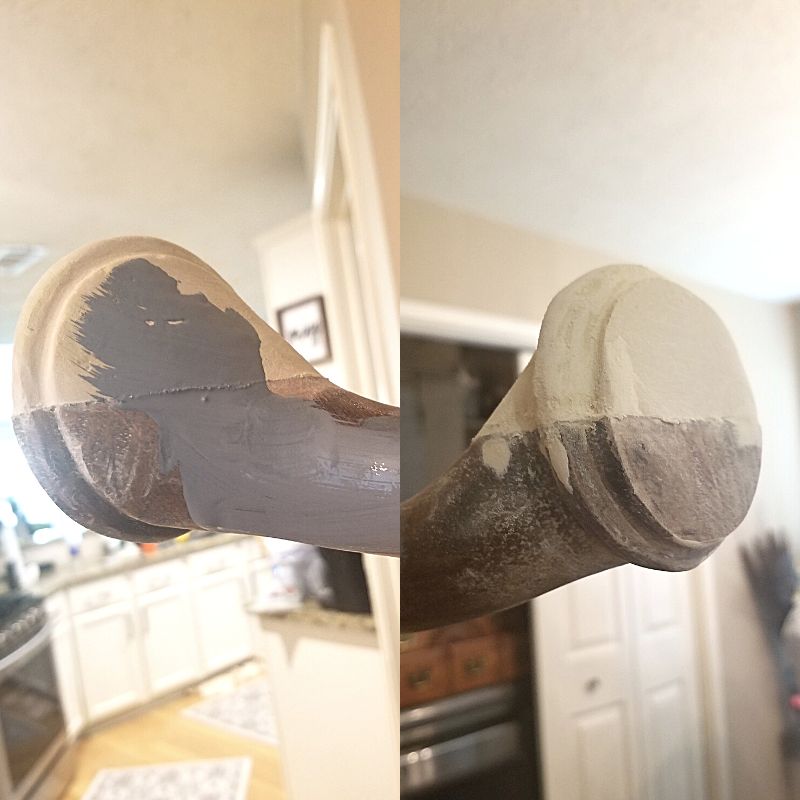
The ridge you can see in the above photo is just extra glue, which I removed with a flat razor. Once surface is smooth I am painting it with two coats and allowing it time to dry.
Click on link to see YouTube video below or follow the link which was very helpful for me when trying to get this right the first time around Fixing Furniture with Wood Filler and Bondo.
Applying Waverly White Wax as a Sealer to the Buffet
After replacing the doors and painted hardware, I will also apply Waverly White Wax Sealer all over the buffet. This photo below is how it looks before using a t-shirt to rub out the white wax more evenly.
For me, the white wax on the legs/feet is too much for me so I did thin this out by rubbing out more with a old t-shirt. Once it was looking good enough for me, I applied Johnson paste all over the buffet. I love how this stuff is easy to apply and brings out the dimension. Some people don’t care for the smell, but it’s okay with me.
After allowing the Johnson’s Paste to dry over 2 nights, I decided to lightly sand the top surface of the buffet and apply one coat of Rust-Oleum Chalked in Matte Clear for extra protection.

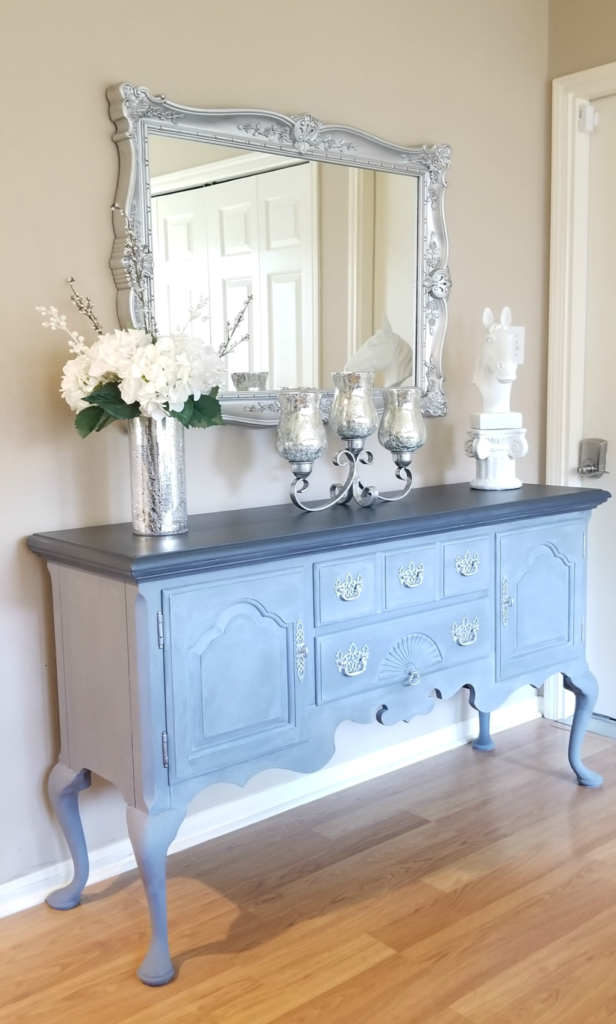
The stallion head and pedestal are for sell on Amazon and is painted using Rust-Oleum white chalk paint spray.
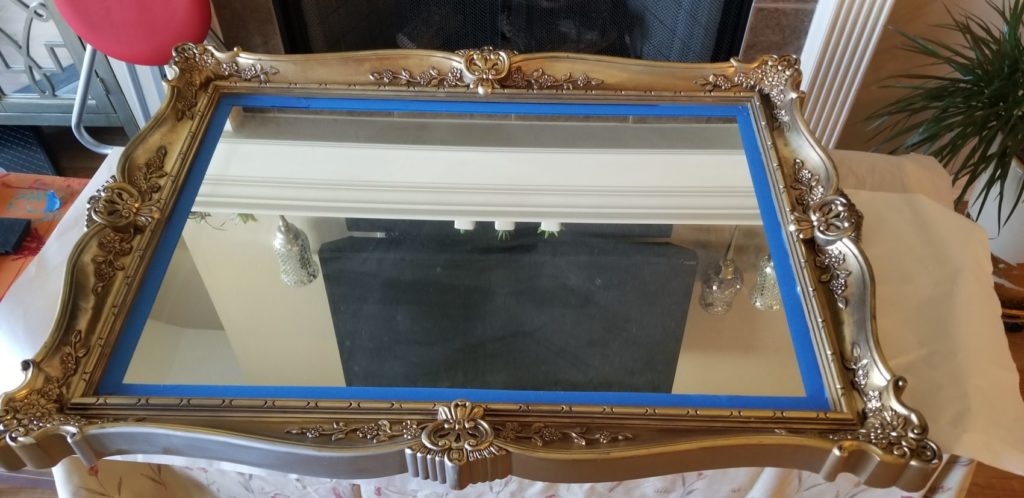
Painting a Thrifted Ornate Mirror with Silver Gilding Paint
I found this mirror below on the Let Go app for $12. I painted it Premium Gilding Paint in Silver from Michaels. This paint is so easy to use. One coat is enough, using a skinny sponge brush. This mirror is perfect for the look I am going for.

Once the second coat was dry. I’m applying two coats of just the Relic paint thinned out with a little water to the top of the buffet. I also applied the Metallic Silver Leaf Rub N Buff to the hardware using a skinny sponge brush.
So this concludes my DIY buffet makeover yall!
I hope you’ve been Inspired to makeover your own furniture or find the perfect piece for a lucrative furniture flip. I’ll be keeping my new buffet! 😀
Already on Instagram? Comment here.
Find all projects under #lanidoesit
![]()