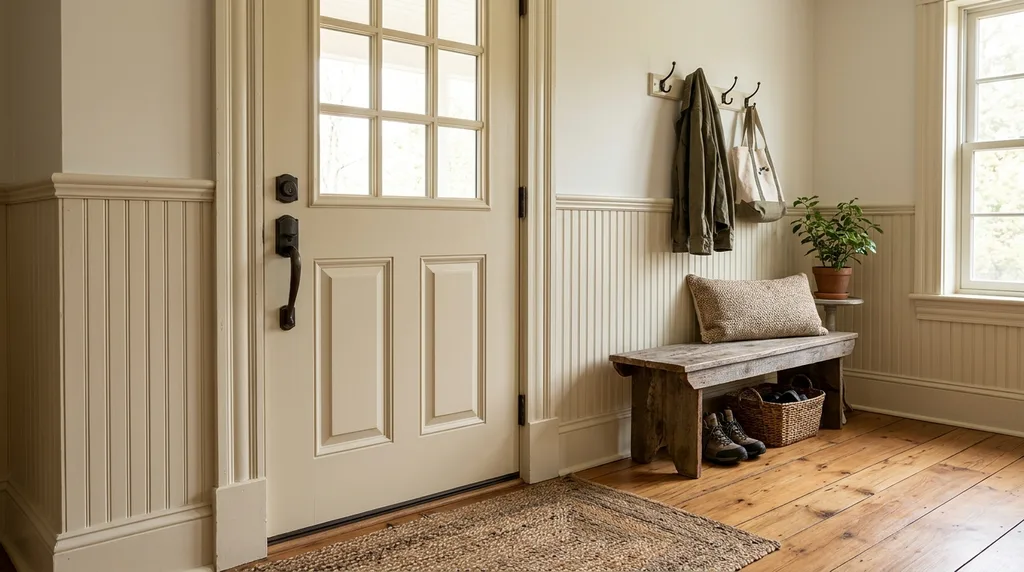
A cold draft coming through an exterior door can make an otherwise comfortable room feel chilly and uninviting. If you’ve been wondering how to stop drafts around doors, you may be surprised to learn that replacing the entire door isn’t always necessary.
In many cases, the problem is a worn seal, a gap beneath the door, loose hardware, or an opening around the door frame. Door sweep installation can help address gaps beneath the door, while other drafty door fixes may involve replacing worn weatherstripping, tightening hardware, or sealing small gaps around the frame. These are problems that can often be addressed with smaller, more affordable repairs.
The trick is knowing where the air is entering before spending money on materials you may not need.
In this guide, we’ll explore five practical drafty door fixes, how to identify the source of the problem, and when a simple repair may not be enough. If you’re looking for affordable winter home improvements, these solutions can help you make more informed decisions about keeping your home comfortable without committing to a costly replacement.
How to Find Where Cold Air Is Entering
Before purchasing weatherstripping, a door sweep, or any other materials, take a few minutes to inspect the door.
A draft can enter from several places, and each one requires a slightly different solution.
Here are three simple ways to narrow down the problem.
1. Check Around the Door Edges
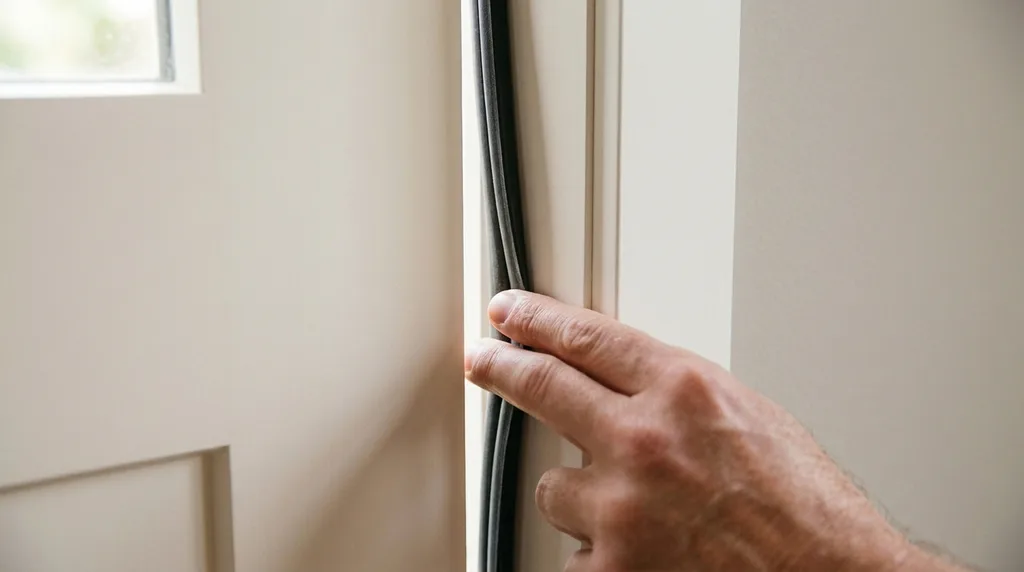
Close the door and inspect the top, sides, and bottom.
Look for:
- Visible gaps between the door and its frame.
- Worn, flattened, or missing weatherstripping.
- Daylight coming through the edges.
- Uneven spaces where the door meets the frame.
Pay particular attention to the upper corners and the area near the latch. These spots can reveal whether the door is sitting unevenly or failing to close tightly.
2. Try the Paper Test
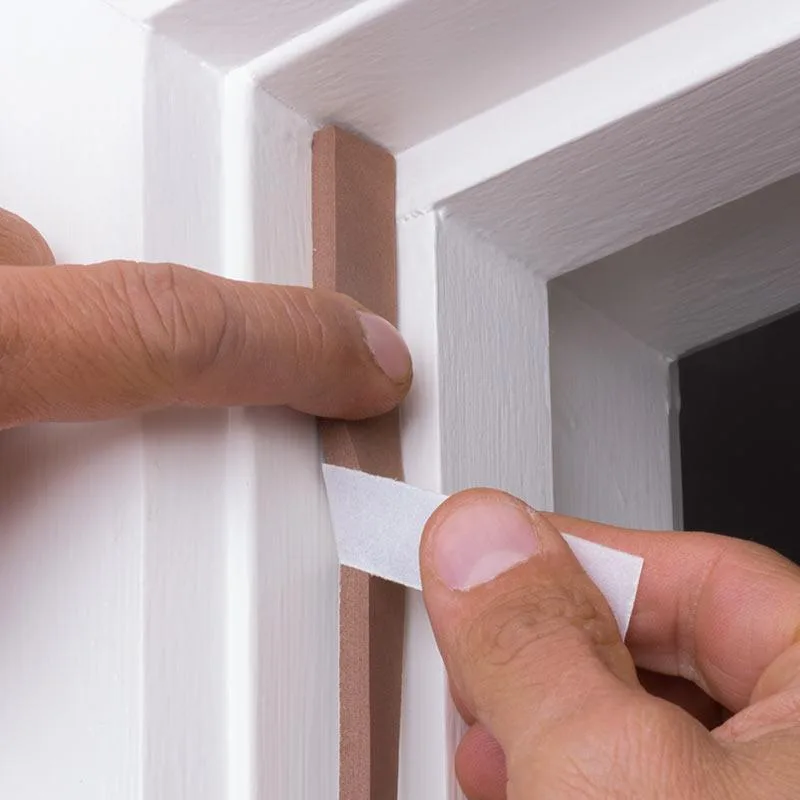
A simple paper test can help identify a weak seal.
Place a sheet of paper between the closed door and its frame. Gently pull it.
If the paper slides out easily, that section may not be pressing firmly enough against the weatherstripping.
Repeat the test at several points along the sides and top of the door. This helps you identify whether the problem is isolated to one area or affects the entire seal.
3. Inspect the Bottom of the Door
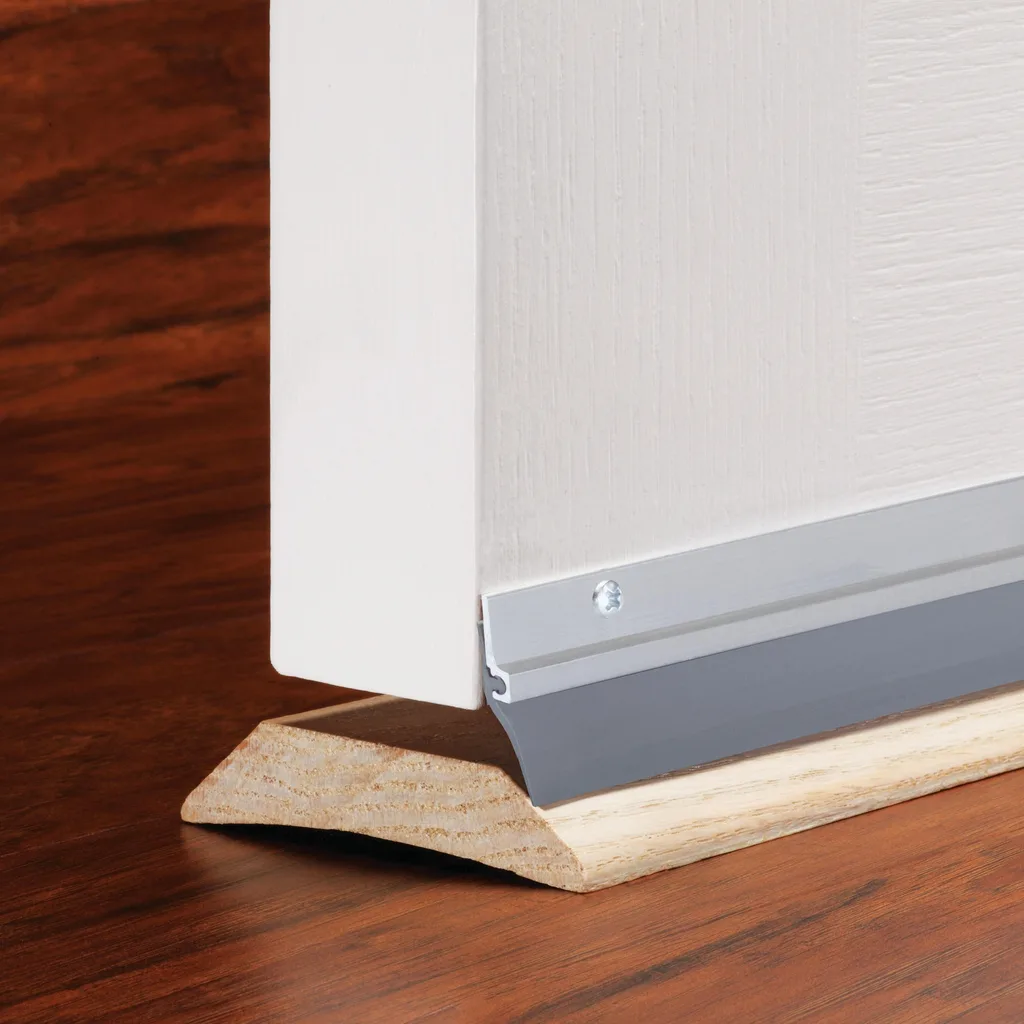
The gap beneath an exterior door is another common place for unwanted air to enter.
Look at the space between the bottom of the door and the threshold. Check whether the existing sweep is worn, missing, or no longer making contact with the threshold.
A flashlight can also help reveal gaps. Shine a light along the bottom and edges of the closed door while someone observes from the other side.
The goal: Identify the actual source of the draft before choosing a repair.
Weatherstripping vs. Door Sweeps: Which Do You Need?
Weatherstripping and door sweeps both help seal air leaks, but they are designed for different parts of the door.
Understanding the difference can prevent unnecessary purchases.
Weatherstripping
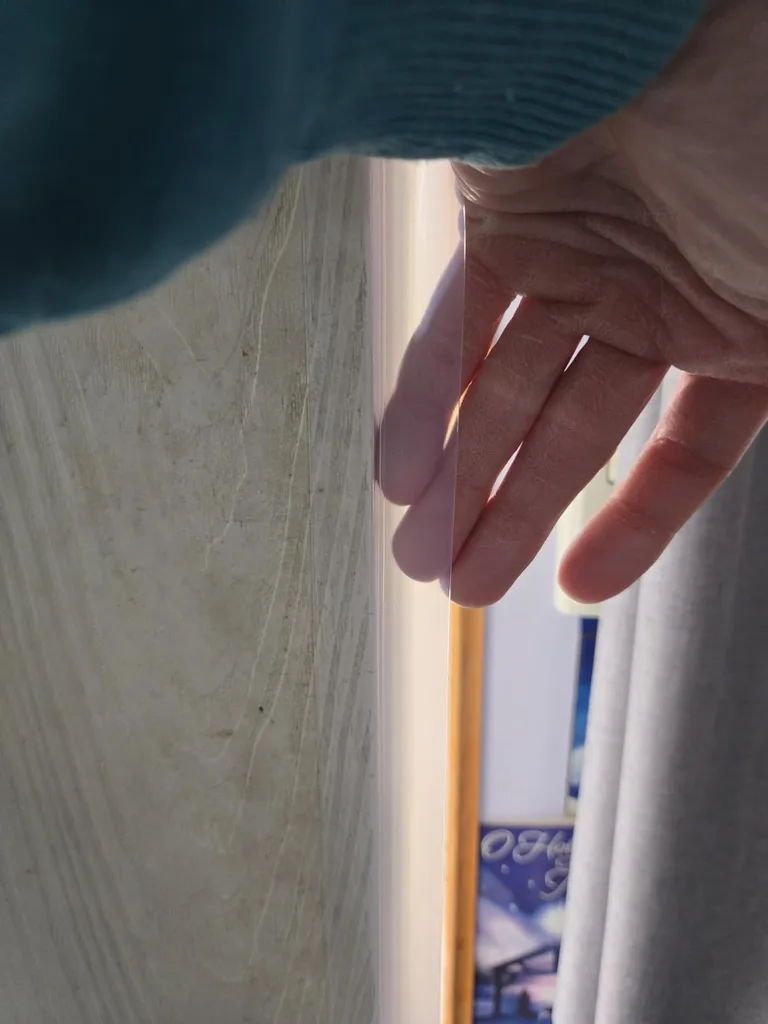
Weatherstripping seals the gaps around the top and sides of an exterior door.
It is installed along the door frame, where the door meets the stops when closed. Depending on the product, it may use compressible foam, vinyl, rubber, or another flexible sealing material.
Weatherstripping is worth considering when:
- You feel air entering around the sides.
- The existing seal looks flattened or damaged.
- The paper test reveals loose spots.
- You can see small gaps around the closed door.
Door Sweeps
A door sweep attaches to the bottom of the door to help close the gap between the door and the threshold.
It is generally the better choice when:
- Cold air enters underneath the door.
- Daylight is visible along the bottom edge.
- The existing sweep is damaged or missing.
- Dust and outdoor debris enter through the bottom gap.
Which One Should You Choose?
| Where the draft enters | What to consider |
|---|---|
| Top of the door | Weatherstripping |
| Left or right sides | Weatherstripping |
| Underneath the door | Door sweep |
| Around the stationary frame | Exterior-grade caulk or appropriate air sealing |
| Uneven gaps around the door | Check door alignment and hardware first |
Sometimes you may need both weatherstripping and a door sweep. The important thing is to match the repair to the location of the air leak.
How to Install Weatherstripping Step by Step
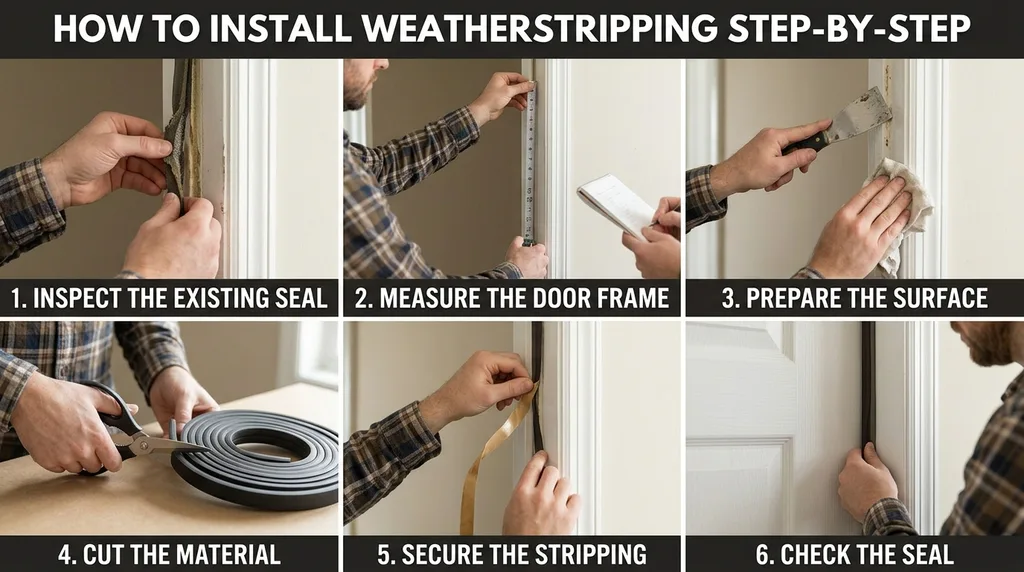
If the existing weatherstripping is worn or missing, replacing it may be a relatively straightforward repair.
The installation process depends on the type of weatherstripping you choose. Always follow the manufacturer’s instructions for measuring, fitting, and fastening the material.
Here is a general overview.
Step 1: Inspect the Existing Seal
Examine the old weatherstripping to determine whether it is damaged, loose, or no longer making proper contact with the door.
Before installing anything new, check the door hardware and alignment.
Step 2: Measure the Door Frame
Measure the top and both sides of the door frame.
Take accurate measurements so you know how much material is needed. Different weatherstripping products may have different fitting requirements.
Step 3: Prepare the Surface
Clean the area where the new weatherstripping will be attached.
Remove loose dirt and residue so the new material can sit properly against the frame.
Step 4: Cut and Position the Material
Cut the weatherstripping according to the manufacturer’s instructions.
Position each section carefully, making sure the material meets neatly at the corners without leaving unnecessary gaps.
Step 5: Secure and Check the Seal
Fasten the weatherstripping using the method supplied with the product.
Close the door and check that the seal makes consistent contact without making the door difficult to close or latch.
If the door requires excessive force to close, the material may be too thick or improperly positioned.
A properly fitted seal should reduce the gap while allowing the door to operate normally.
5 Affordable Ways to Improve Door Comfort
Once you know where the air is entering, you can choose a repair that addresses the problem without automatically replacing the entire door.
These five affordable winter home improvements focus on correcting common sealing and alignment problems. They are also practical drafty door fixes to consider before making a larger investment.
1. Replace Worn Weatherstripping
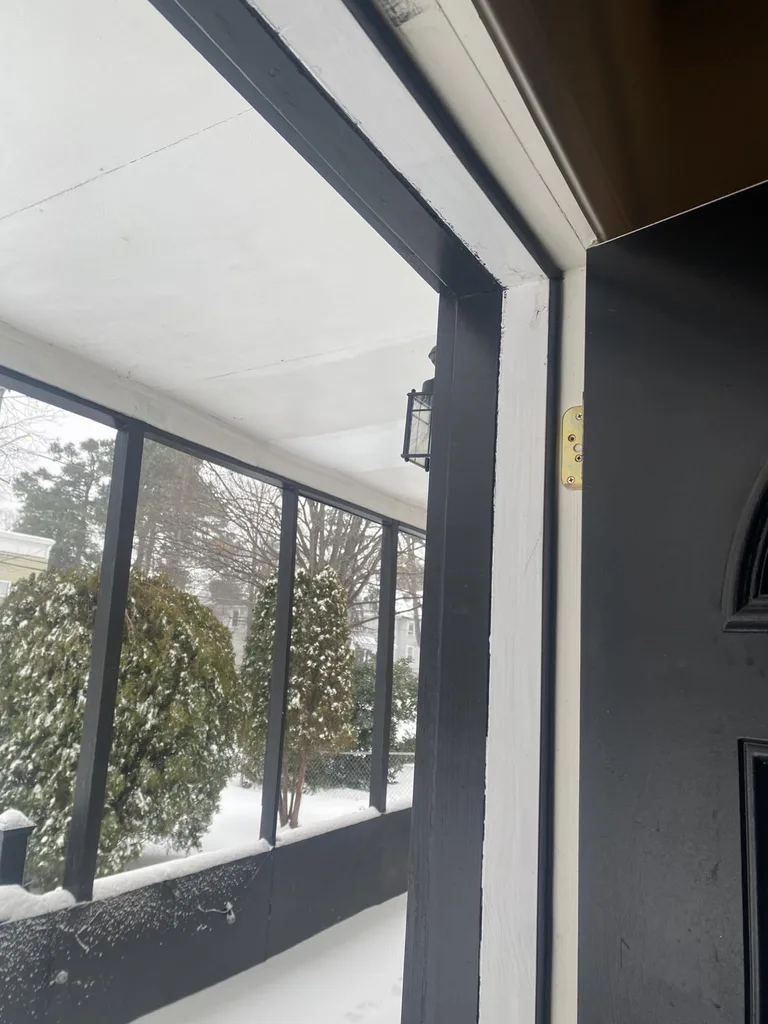
If cold air enters around the sides or top of the door, worn weatherstripping may be the problem.
Over time, flexible sealing materials can become compressed, loose, or damaged. When that happens, they may no longer close the gap effectively.
Replacing the worn material with an appropriate new seal can help restore contact between the door and frame.
What to look for: Choose weatherstripping designed for your door type and the size of the gap. A seal that is too thin may not close the opening, while one that is too thick can interfere with the door’s operation.
This is one of the first affordable winter home improvements to consider when the door itself is still in good condition.
2. Install or Replace a Door Sweep
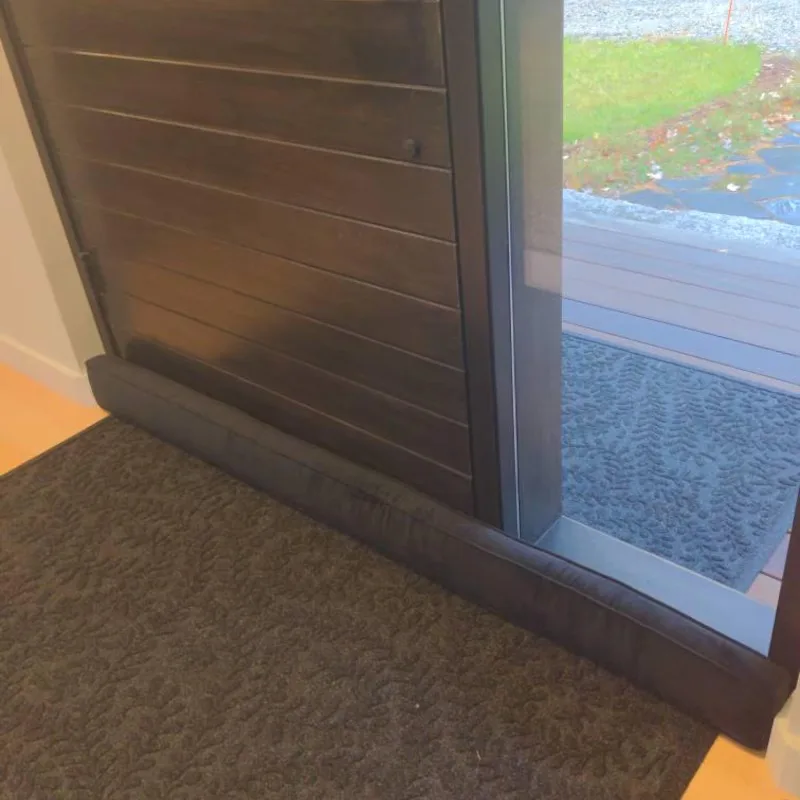
If the draft is coming from underneath the door, a door sweep may be the more appropriate solution.
A sweep attaches to the bottom edge of the door and creates a flexible barrier against the threshold.
Common options include:
- Vinyl or rubber sweeps: Provide a flexible sealing edge.
- Brush sweeps: Use bristles to cover a gap while allowing some flexibility.
- Door-bottom seals: Some designs use a more enclosed sealing profile.
Before purchasing one, measure the door width and check the distance between the door bottom and threshold.
Proper door sweep installation matters because the sweep needs to make suitable contact without dragging excessively across the floor or preventing the door from closing.
A helpful consideration: If the floor is uneven, a standard straight sweep may not provide a consistent seal across the entire width. Check the gap at both corners and the center before selecting a product.
3. Tighten Loose Hinges and Check Door Alignment
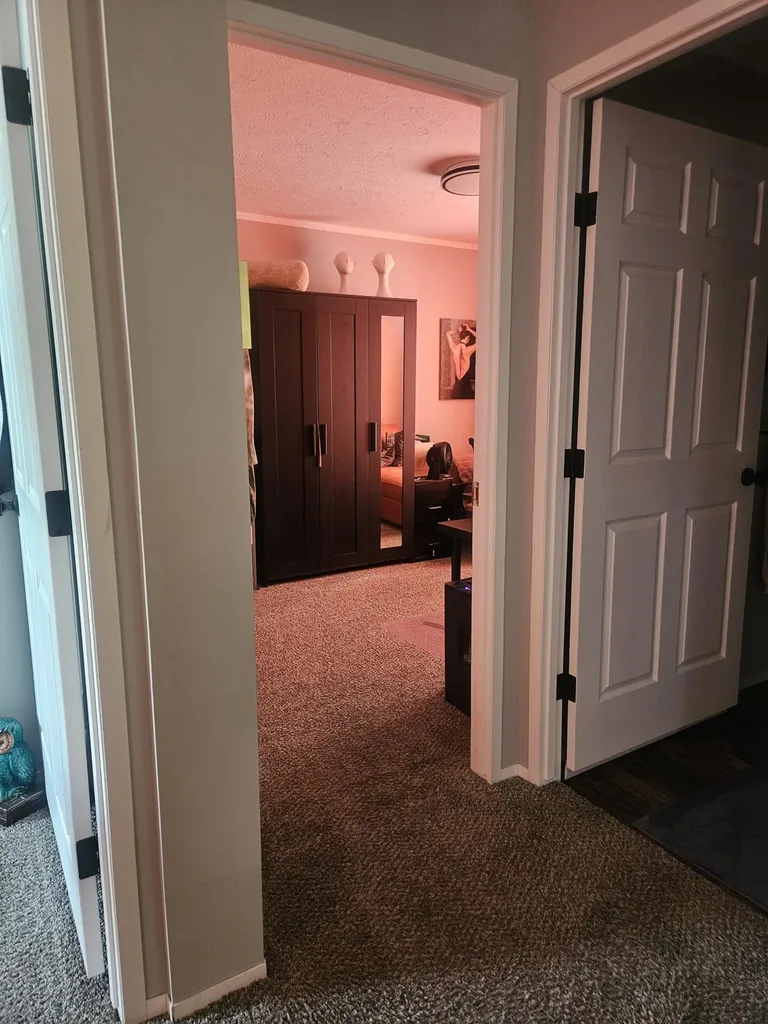
Sometimes the problem isn’t the weatherstripping at all.
A door that has shifted or become loose on its hinges may no longer sit evenly against the frame. This can create gaps that allow outside air to enter.
Start by inspecting the hinges and checking for loose screws.
If the screws are simply loose and the surrounding wood is in good condition, tightening them may help restore the door’s position.
Also examine the latch and strike plate. If the door does not close firmly, the hardware may need adjustment.
However, don’t force the door or make major hinge adjustments without understanding the cause. A sagging door, damaged frame, or stripped screw holes may require additional repair.
Why this matters: Adding thicker weatherstripping to a poorly aligned door may only make it harder to close without solving the original problem.
4. Seal Gaps Around the Door Frame
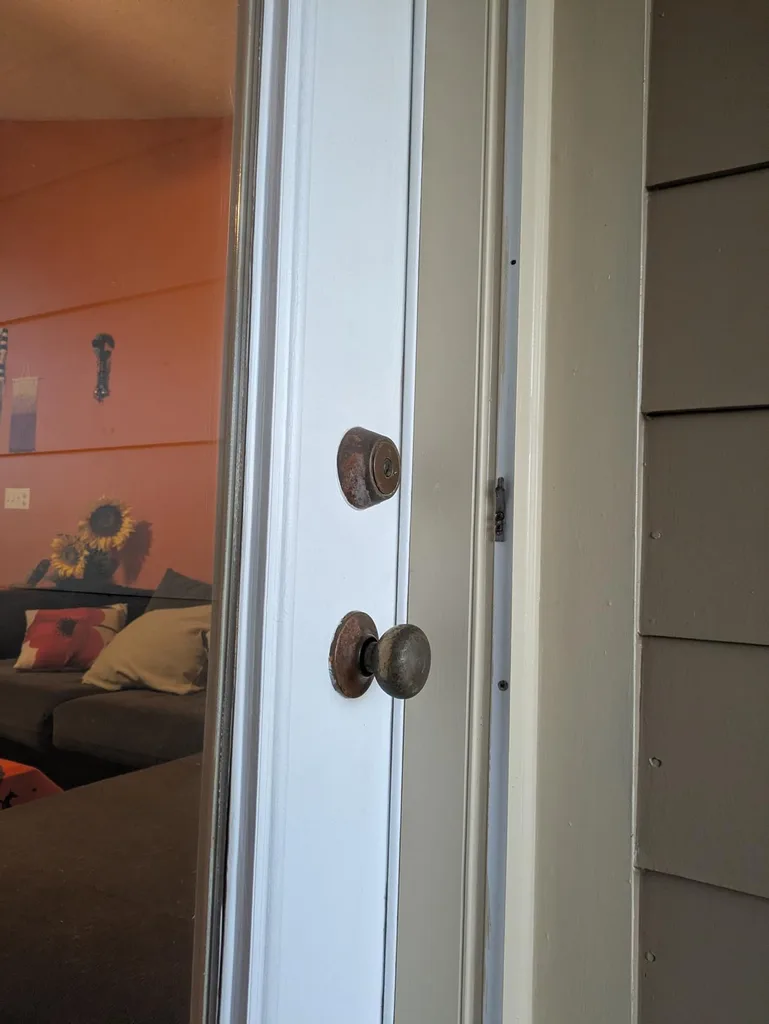
Not every draft comes through the space between the door and its frame.
Sometimes air enters through cracks between the stationary frame and the surrounding wall or trim.
Inspect the area around the door casing for:
- Visible cracks.
- Gaps between the trim and wall.
- Deteriorated exterior caulking.
- Openings where the frame meets the surrounding structure.
For small gaps between stationary surfaces, an appropriate exterior-grade caulk may help seal the opening.
Larger gaps behind the trim may require a different approach, such as suitable low-expansion door-and-window foam or professional air sealing.
Remember that caulk belongs on stationary joints, not between the moving door and its frame. That area needs a flexible door seal.
Also, avoid covering drainage openings or other features designed to manage water.
5. Repair the Threshold or Use a Temporary Draft Stopper
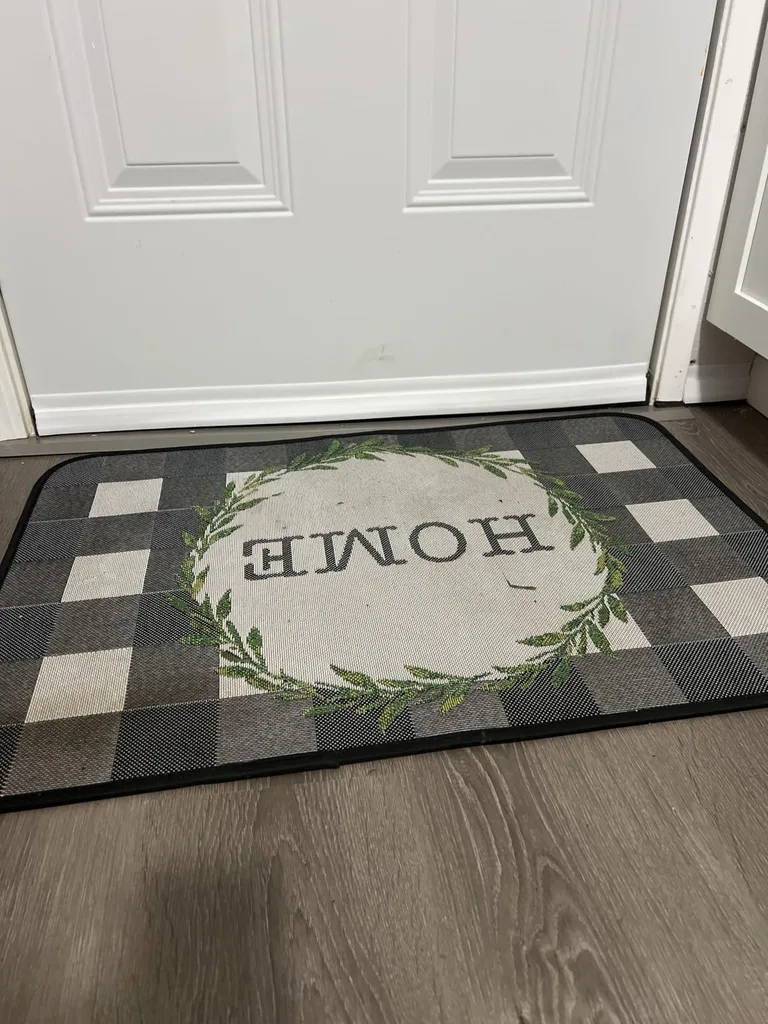
The threshold is the bottom section of the doorway that the door closes against.
If it is loose, damaged, or no longer positioned correctly, air may enter underneath even when the door has a sweep.
Inspect the threshold for:
- Loose fasteners.
- Gaps where it meets the floor.
- Damaged sealing inserts.
- Uneven contact with the door bottom.
Depending on its condition, tightening or repairing the threshold may be enough. If the sealing insert is replaceable, you may not need to replace the entire threshold.
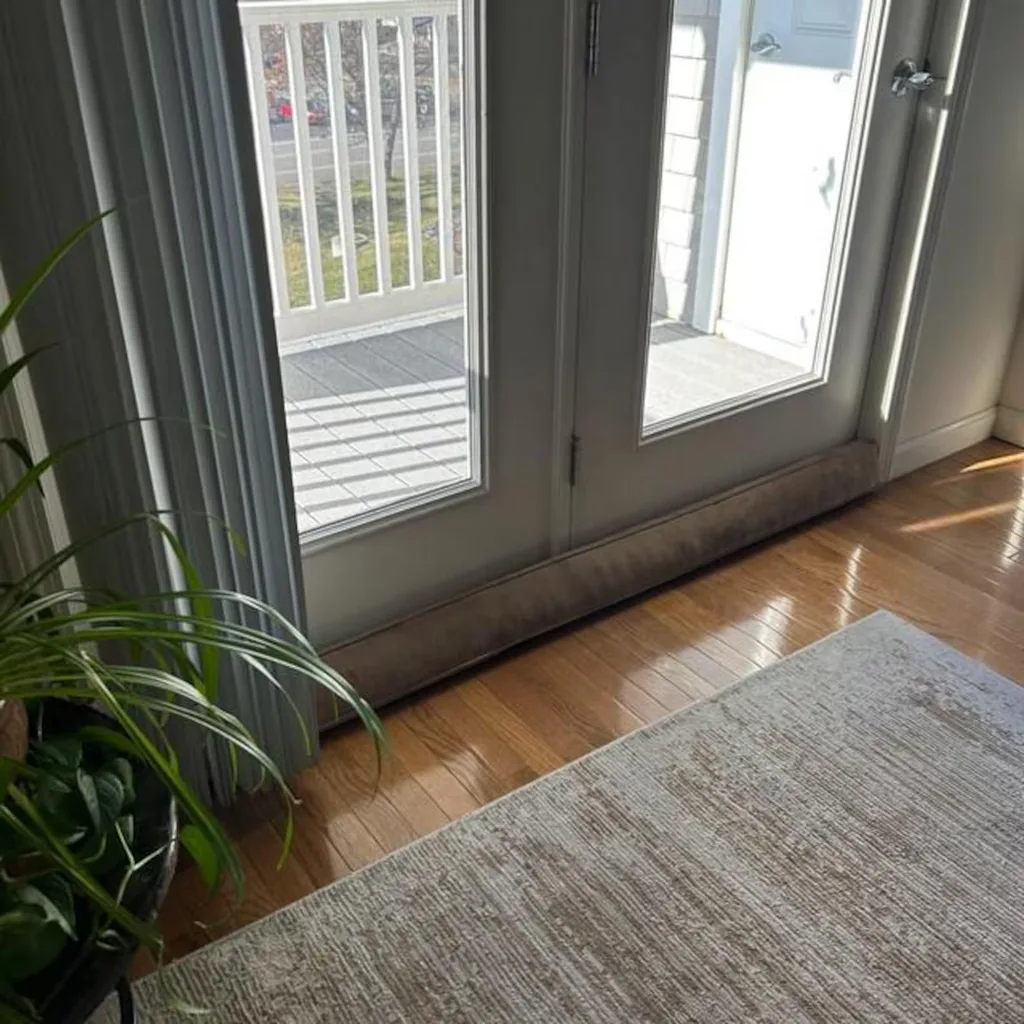
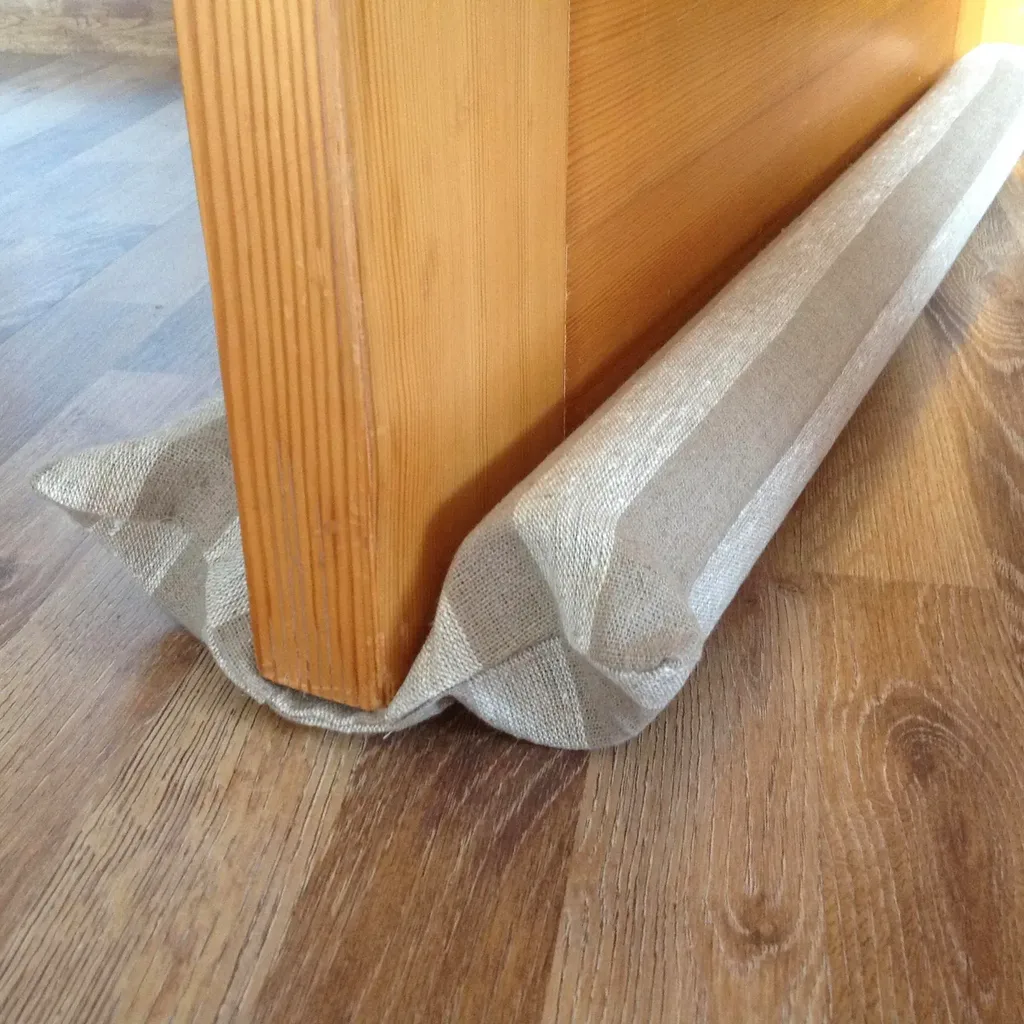
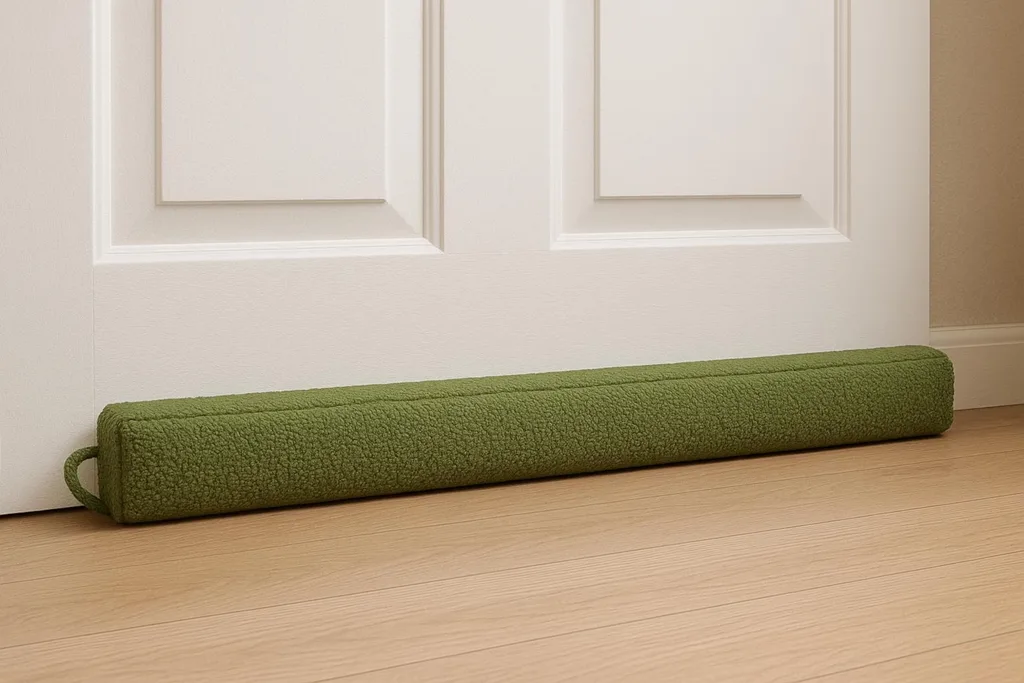
For an interior door or a temporary comfort solution, a fabric draft stopper can also help reduce the feeling of cold air moving beneath the door.
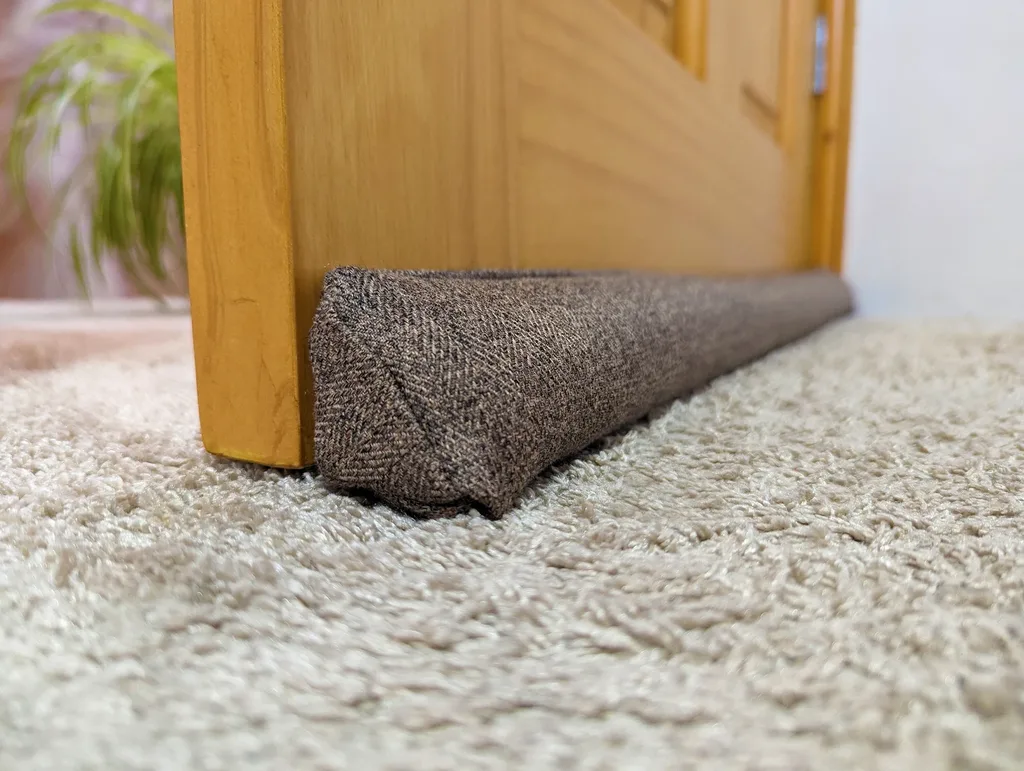
Keep in mind that a loose draft stopper is not a substitute for properly sealing an exterior door. It is a temporary measure, particularly where the door is frequently opened.
When considering door sweep installation or threshold repairs, remember that the goal of how to stop drafts around doors is to close the gap appropriately without interfering with normal door operation.
When a Draft Signals a Bigger Problem
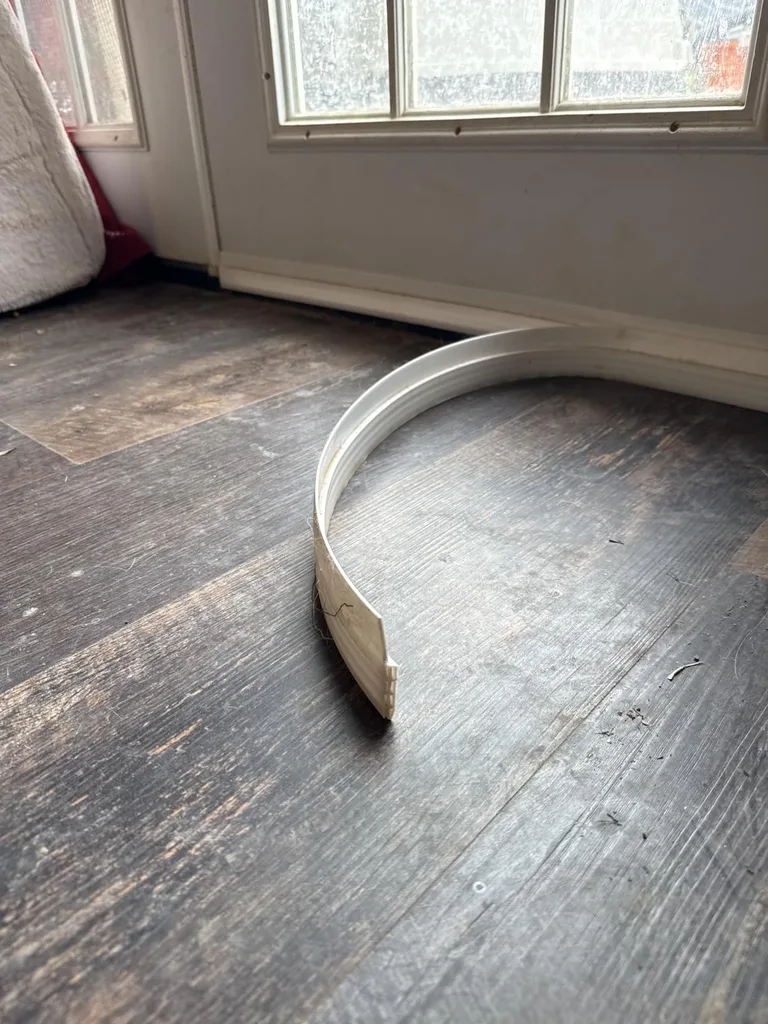
Most small air leaks around doors can be addressed with targeted repairs. However, not every draft is caused by worn weatherstripping.
Sometimes the problem is a sign of something that needs closer attention.
Watch for these warning signs:
Visible gaps that keep returning
If gaps reappear after replacing the weatherstripping, the door or frame may be out of alignment.
A warped or damaged door
A door that is visibly bowed, cracked, or deteriorating may not provide a consistent seal even with new weatherstripping.
Soft or rotting wood
Moisture damage around the door frame or threshold should be investigated before applying new sealing materials.
Water entering around the doorway
Water intrusion is a more serious concern than an ordinary air leak. The source may involve failed exterior sealing, drainage, flashing, or installation problems.
A door that will not close or latch properly
This may indicate a hardware, alignment, or structural issue that needs repair rather than another sealing product.
If you notice significant deterioration, persistent water intrusion, or structural movement, consider having a qualified professional inspect the doorway.
The purpose of affordable repairs is to extend the usefulness of a door that is still in sound condition, not to cover up damage that could become more expensive later.
The Lani Does It Designer’s Rule
A comfortable home starts with understanding how each part of a space works together. When it comes to doors, a good seal is about more than keeping cold air out. It also helps prevent unwanted dust, outdoor debris, and air movement from disrupting the comfort of the room.
My rule is simple: Fix the source of the problem before spending money on the solution.
A new door may look like the easiest answer, but if the real issue is a loose hinge, worn seal, or small gap around the frame, replacing the entire door may be unnecessary.
Try this at home: Before purchasing anything, inspect the top, sides, and bottom of your exterior door. Use the paper test to identify loose sealing areas, then match the repair to the specific problem.
A Thought to Style By
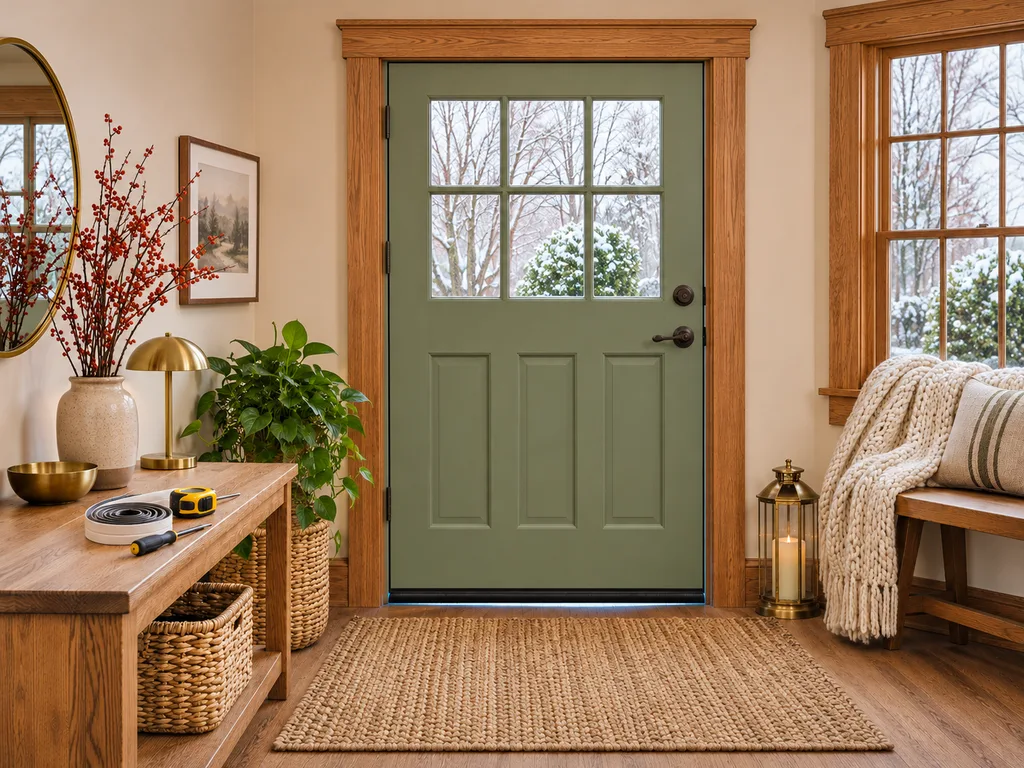
A beautiful home isn’t only about what we see. It’s also about how comfortably we live in it. Sometimes the most worthwhile home improvements are the small, thoughtful repairs that make everyday living feel a little easier.
Ready to make your home more comfortable? Now that you know how to stop drafts around doors, you can make more informed choices about simple repairs that improve comfort without unnecessary replacement costs. Explore more practical DIY ideas, affordable home improvements, and intentional living inspiration here at Lani Does It.
For more home decor inspiration, DIY projects, and practical tips, follow me on Pinterest, Instagram, and TikTok. and subscribe to my YouTube channel for more home projects and decorating ideas.
And when you’re looking to refresh your space, visit CuratedbyLani.com to shop affordable holiday and non-holiday decor for your home.